
We Use Backing Tracks – Part 4: This Is (Literally) How We Do It
Posted by Fun DMC on March 30th 2018
Now that I got the unpleasantries of last week’s post about using backing tracks out of the way, we’re almost to the finish line. If you read through our decision to use tracks in the first place and then how we came to develop the process further, you know that we have a LOT of moving parts happening on stage to turn it into the spectacle that we’ve spent so much time developing.
Fair warning, this gets remarkably nerdy and into a lot of nitty gritty details going forward, so if this isn’t in your wheelhouse, you can skip this whole business and watch this adorable doggy video instead.
Also, while anyone with Google could piece these things together like we did over the years, and our overall goal is to help anyone interested in taking this step themselves, there are still a few little things we’ll be leaving out in the interest of not giving away all of our 11 herbs and spices.
Making The Band
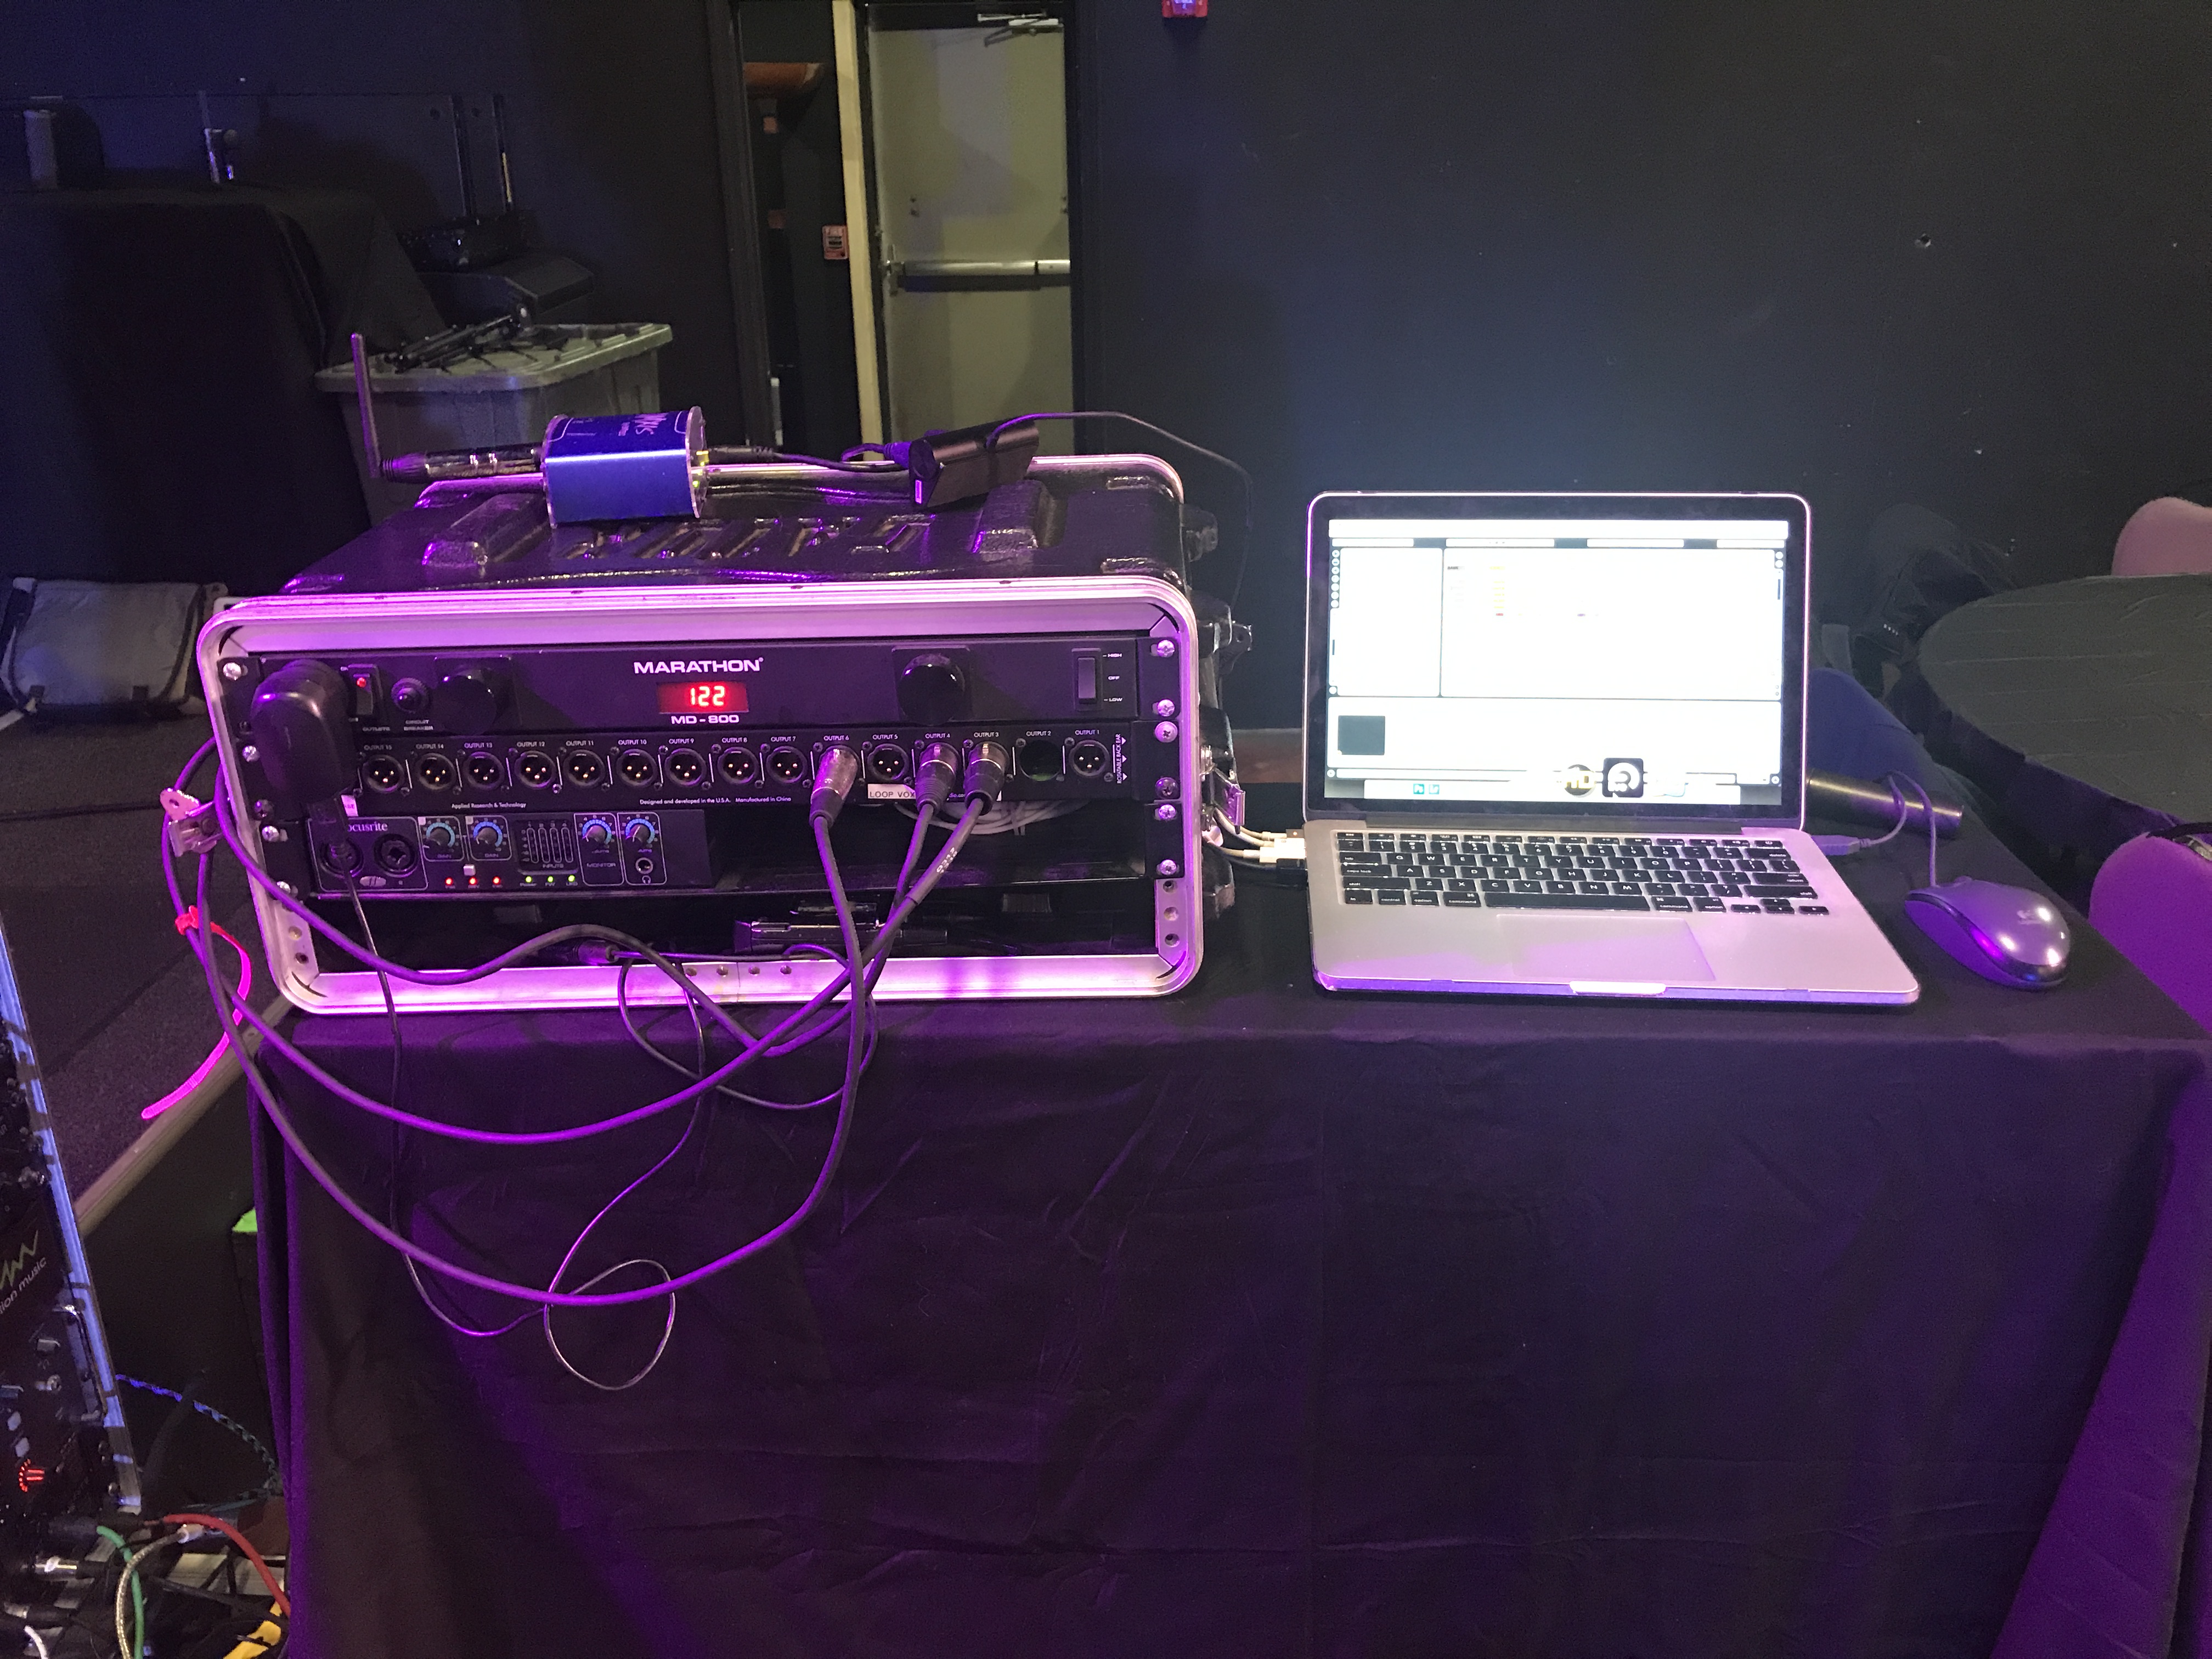
In the second tracks article, I talked a little about how our tracks work with the cues and click, but going a little farther, I can explain how it all gets set up first. Thanks to a Focurite USB interface, our Macbook can send out multiple channels of audio to our “board” (it’s actually an X32 rack that we use with an ipad, but for sake of terminology, we’ll stick with “board”), so on a normal night, we send out 4 channels: track, track vocals, click, and track bass. This allows Chad to control the volumes of each (minus the click) separately. A lot of bands who use tracks just send out the click in the left and all of the tracks in the right, which works well, but leaves little room for what we do with the bass or letting Chad adjust things depending on the room. The clicks are run to the board so it can be dispersed through to our in-ear monitors, but set not to go out to the speakers. This routing gets a little tricky, but have some software that helps make it easier to send things out properly.
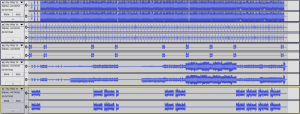 The actual tracks we purchase come broken up into multitrack stems, so we can mix and match different instrumentation and vocals, so for a mashup like Any Way You Needed (Anyway You Want It and Just What I Needed), we can take the bass, the rhythm guitar during the solo, the harmony vocals on the chorus, and the organ from the Journey tune and then the synth from Just What I Needed. For a normal song, we wouldn’t have to make any adjustments, but since we do primarily mashups, most of the songs need adjustment on the beats-per-minute and key to blend properly. Once we establish the appropriate BPM (in this example’s case, the natural BPM of Any Way You Want It), we have to time stretch the other to match. If both songs are drastically slower or faster than the other, this takes stretching both until they line up right. Same goes with the key. To make it sound normal and recreate it live, we have to find a happy medium between the two. So going back to our example, Any Way You Need It (AWYNI going forward) is in G major while Just What I Needed (JWIN going forward) is in E major. Since we’re keeping the musical structure of AWYNI and only using the keys of JWIN, it made sense to keep it in G and not mess with transposing the solo or making our vocalists try to hit it higher. So once those two adjustments are made, I end up arranging the tracks, moving and cropping, and extending, and making it all fit the structure that makes sense for the song and for us to perform live.
The only hiccup I really face anymore is if the original isn’t played to a click or has a variable BPM. It doesn’t happen a ton, but when it does, it makes mashups really time consuming to make everything fit perfectly. If it all lines up well, then I drop the click over it and add in the cues.
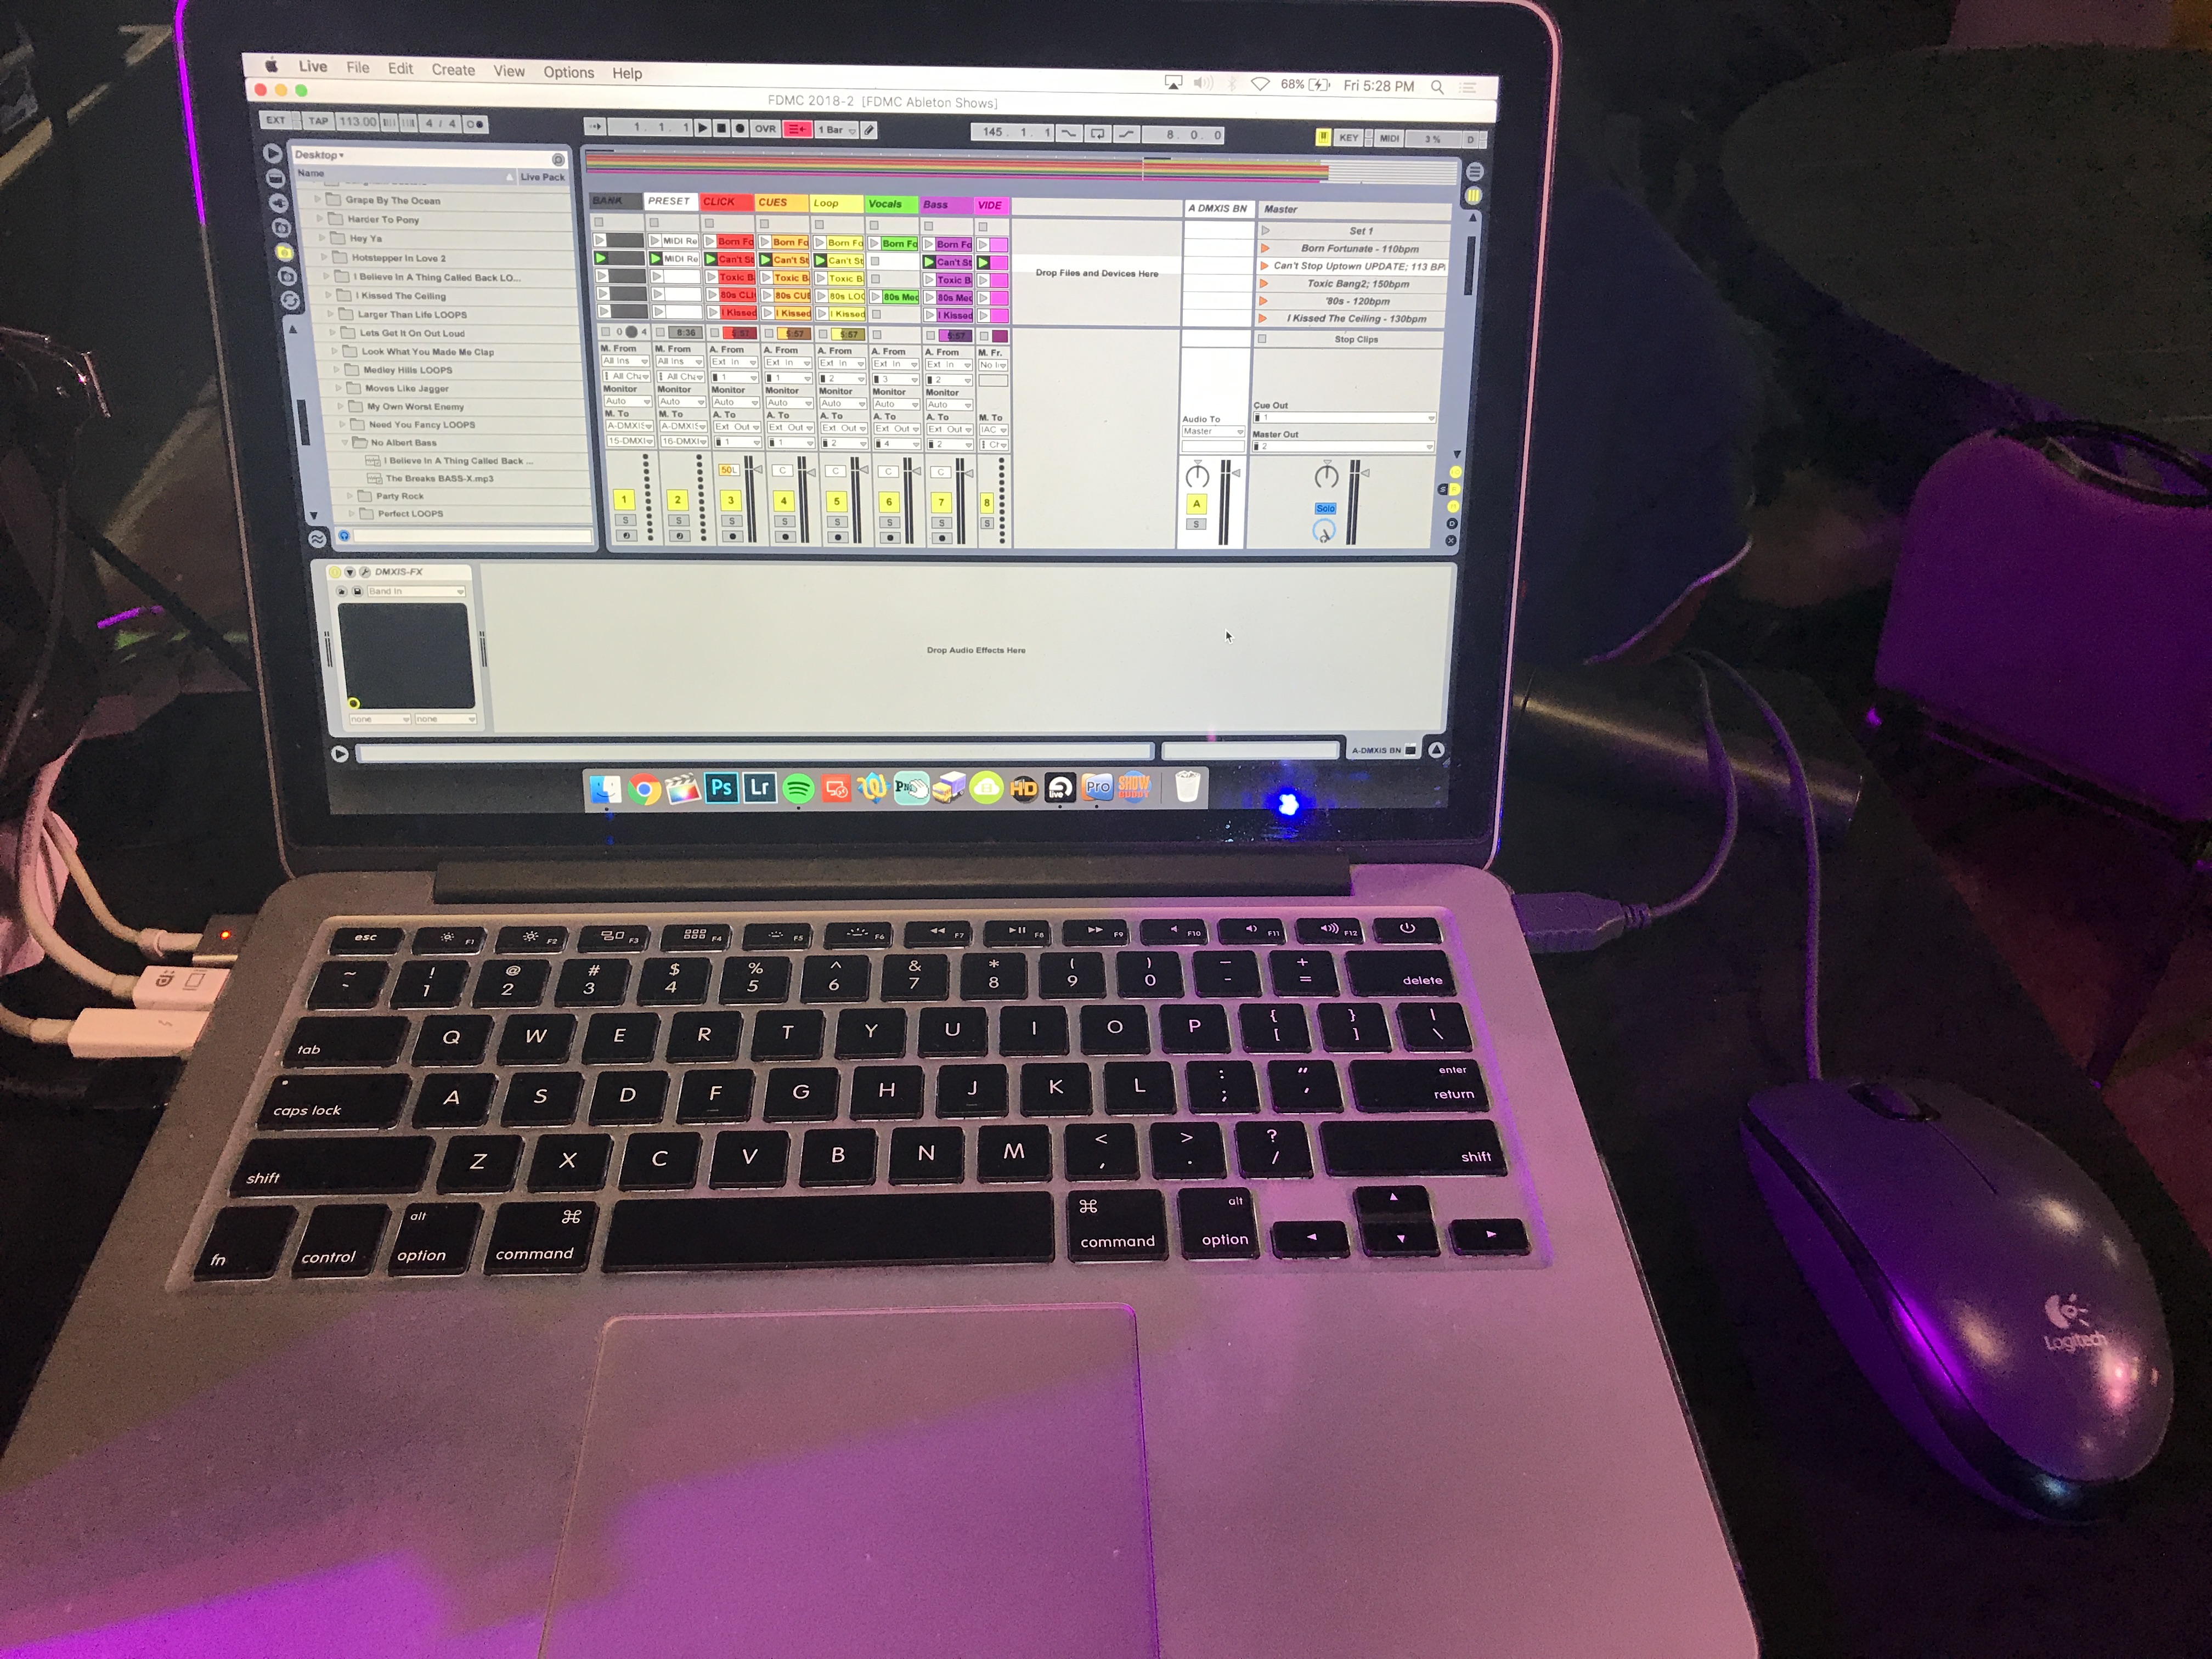
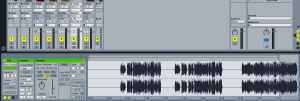 Once I get it all laid out right, I render it down with the full instrumentation and throw it over to the band to proof and make sure it makes sense to them. If it’s a go, I mix down all the loops to one track, the clicks to one track, the cues to one track (more on this in a second), the loop vocals, to one track, and the bass to one track. Then in Ableton, we combine the click and cues to the same channel to go out to the board. This lets us adjust the volume of both in Ableton while still sending it out the same muted channel to our ears. Additionally, we can adjust individual tracks in Ableton as well. If the song needs a bump in key (we used to do All About That Bass in different keys depending on the singer), we could quickly do that without having to go back to the original tracks and transpose. If the song feels like it drags, we can speed up the bpm too. Same with volumes of the different channels. The Lil Jon part of Yeah! sounded silly from the track provider and even sillier when we tried to do it ourselves, so we found a stripped down version online without the instrumentation and dropped it into our tracks. The volume was radically different, but we were able to just adjust that in Ableton and go on.
It’s probably a whole separate article going into how powerful Ableton Live is, and we don’t even push the limit of what a lot of producers are doing with it. From our research, a program like Logic Mainstage is also well-regarded for track performance, but we’ve been in the Ableton environment for so long and know how it works well enough to keep our status quo going for now.
Let There Be Light
We already talked about how it didn’t make financial sense for us to hire out our own lighting designer, especially since we own all of our own lighting. At the time of this article, we are running the following pieces:
- 5 large moving head beam lights
- 4 moving head front wash lights
- 3 colorstrips
- An LED backdrop
- A hazer
- 2 fog jet blasters
- An assortment of dance floor effect lights (lasers and flashing light stuff)
- A few uplights to highlight our banners and our drummer
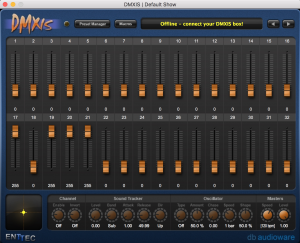
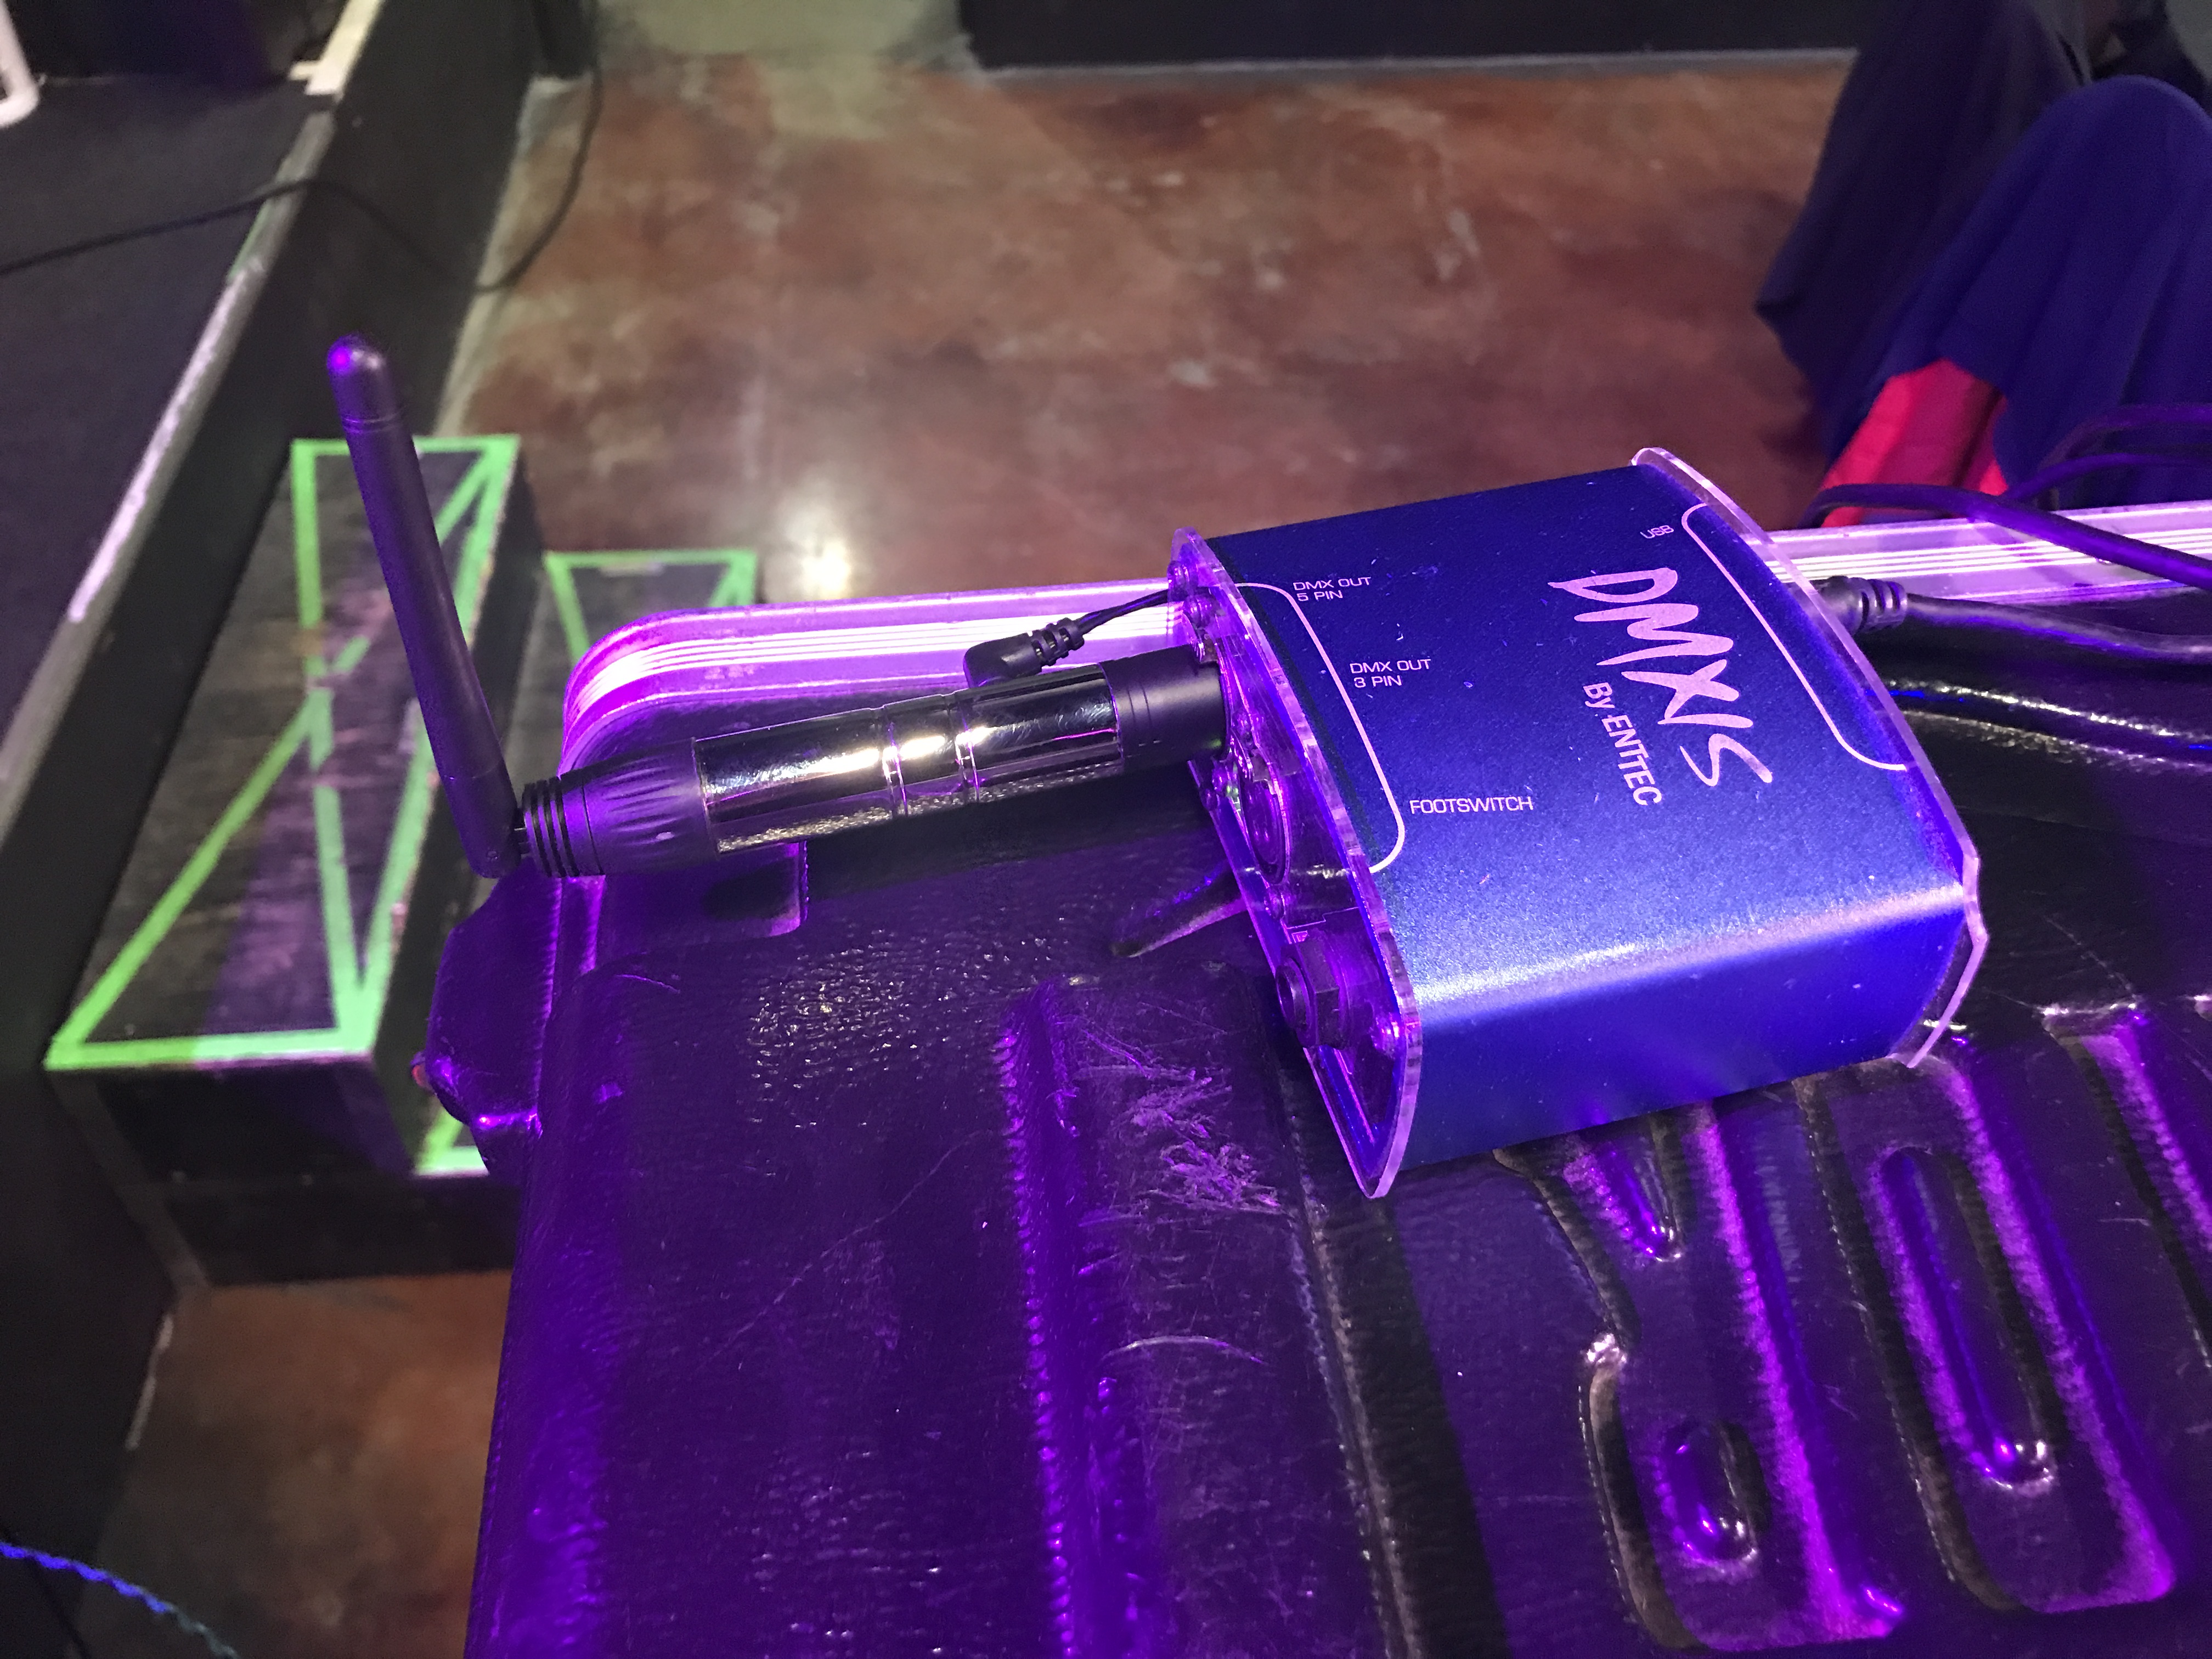
All of these can be controlled via the DMX protocol (although we usually leave the dance floor lights on random and the hazer on) which we connect with wireless DMX units. While it would be a LOT easier to utilize software like Chauvet ShowXpress to program all of this, that requires an operator to manually trigger scenes with. We did an overwhelming amount of research and settled on a hardware/software combination called DMXIS by Enttec. While we’ve grown accustomed to all of DMXIS’s quirks, it’s still a very frustrating interface with a steep learning curve. It’s basically a virtual light board – pages and pages of channels and controls for movers. There is no included visualizer, so we end up setting up ALL the lights every time we want to add new songs. It’s painfully tedious, but makes up for it in letting you save an unlimited amount of scenes that you can draw on from Ableton. That’s the saving grace – DMXIS is also a VST (Virtual Studio Technology), which is an audio plug-in for Ableton. We can create trigger tracks within Live and program cues in to say at the chorus of a song, trigger the third scene from the second playlist. At the bridge, trigger scene seven from playlist one. And at the big solo, fire the fog jets (scene twelve, playlist one). You get the idea.
![]()
While this kind of automation is wonderful in its consistency, since we get to decide exactly how the lights operate and know they will without fail every time, it’s also a very detailed process programming them in Ableton. Luckily, DMXIS also has a companion software called ShowBuddy which lets us drop these scenes directly into the track. While the conversion process over to DMXIS is tedious (like everything with this software), it still saves us hours of time plotting MIDI points in Live. I’d love for us to get into a Visualizer so we can make changes and set up new songs virtually, but until that price comes down or we’re ready to pull that trigger, we do it manually.
Pictures Came And Broke Your Heart
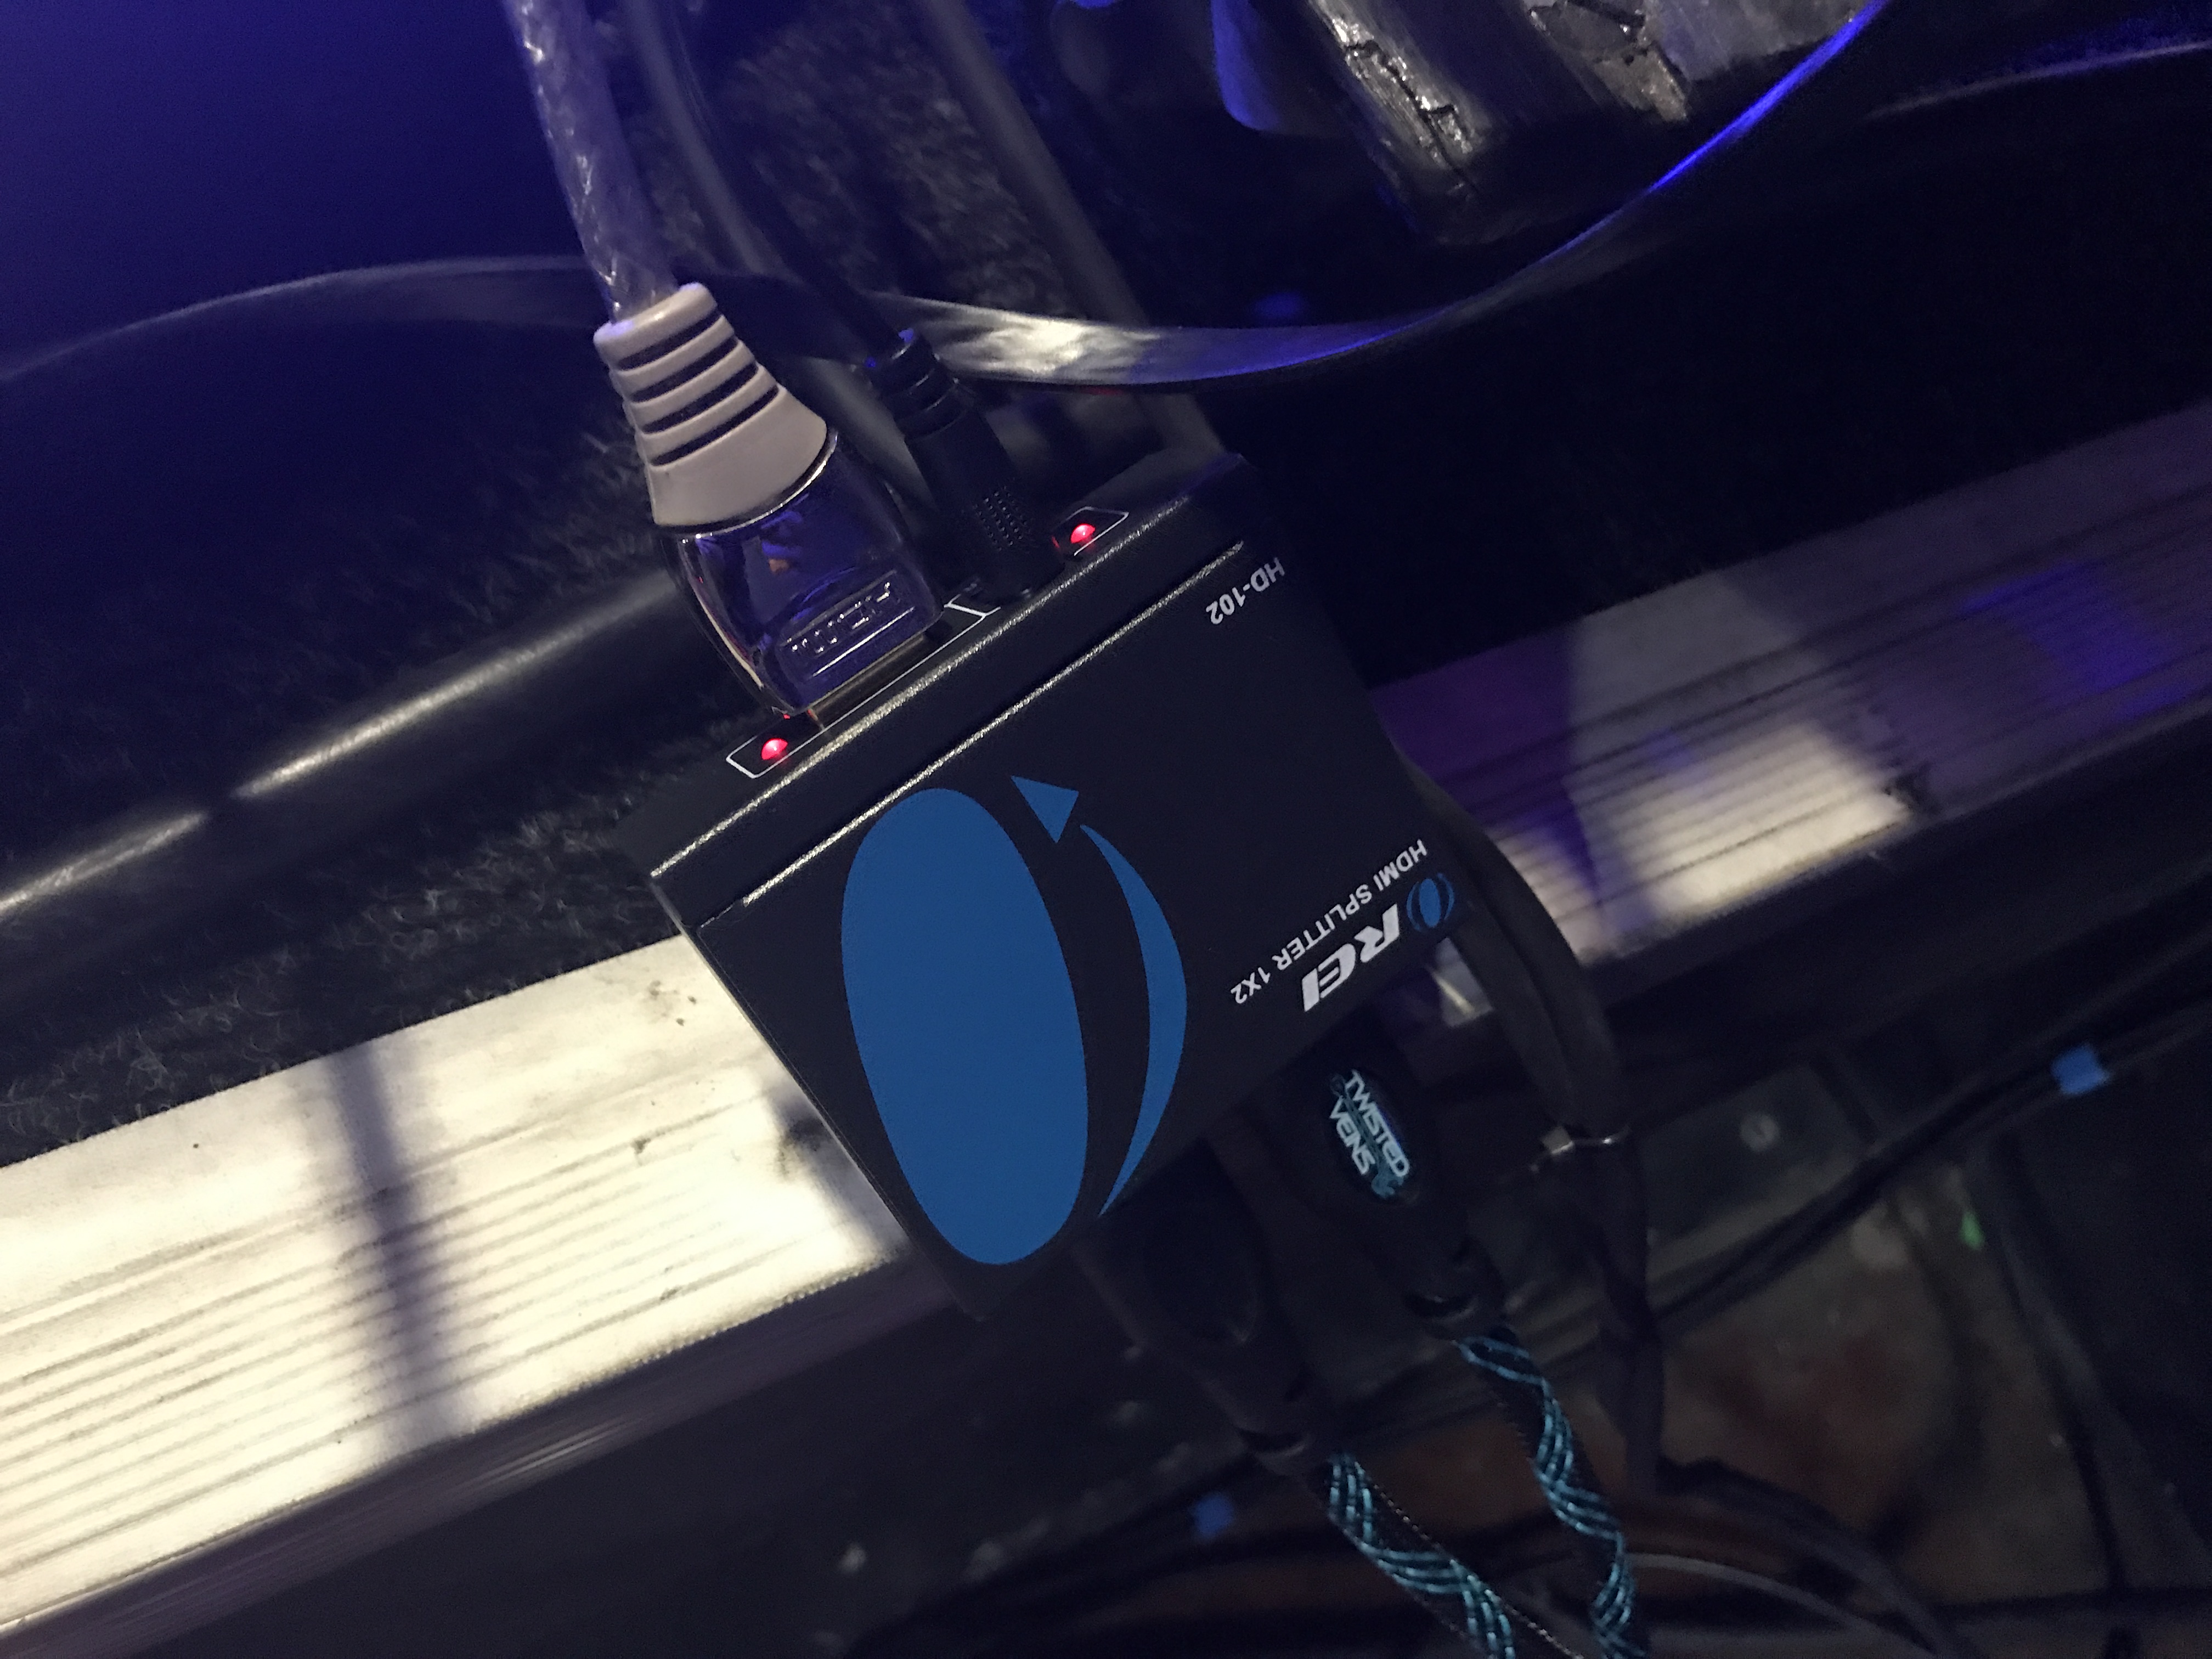
The screens were the next logical step for us and luckily was a much, much easier process than the lights. Our requirements for software was as little hardware as possible to act as an in-between (the more points that need to be plugged in, the more possibility for failure points), software that was less tedious than DMXIS to integrate with Live, and software that had a large user base (and more importantly, extensive troubleshooting forums), and finally wouldn’t cause our tracks or lights to lag. While we’re running a Macbook Pro as a brain, pushing an entire library of videos to two screens could be pushing it. We also wanted to be conscious of price since we were also purchasing large television screens, stands, cabling, adapters, etc.
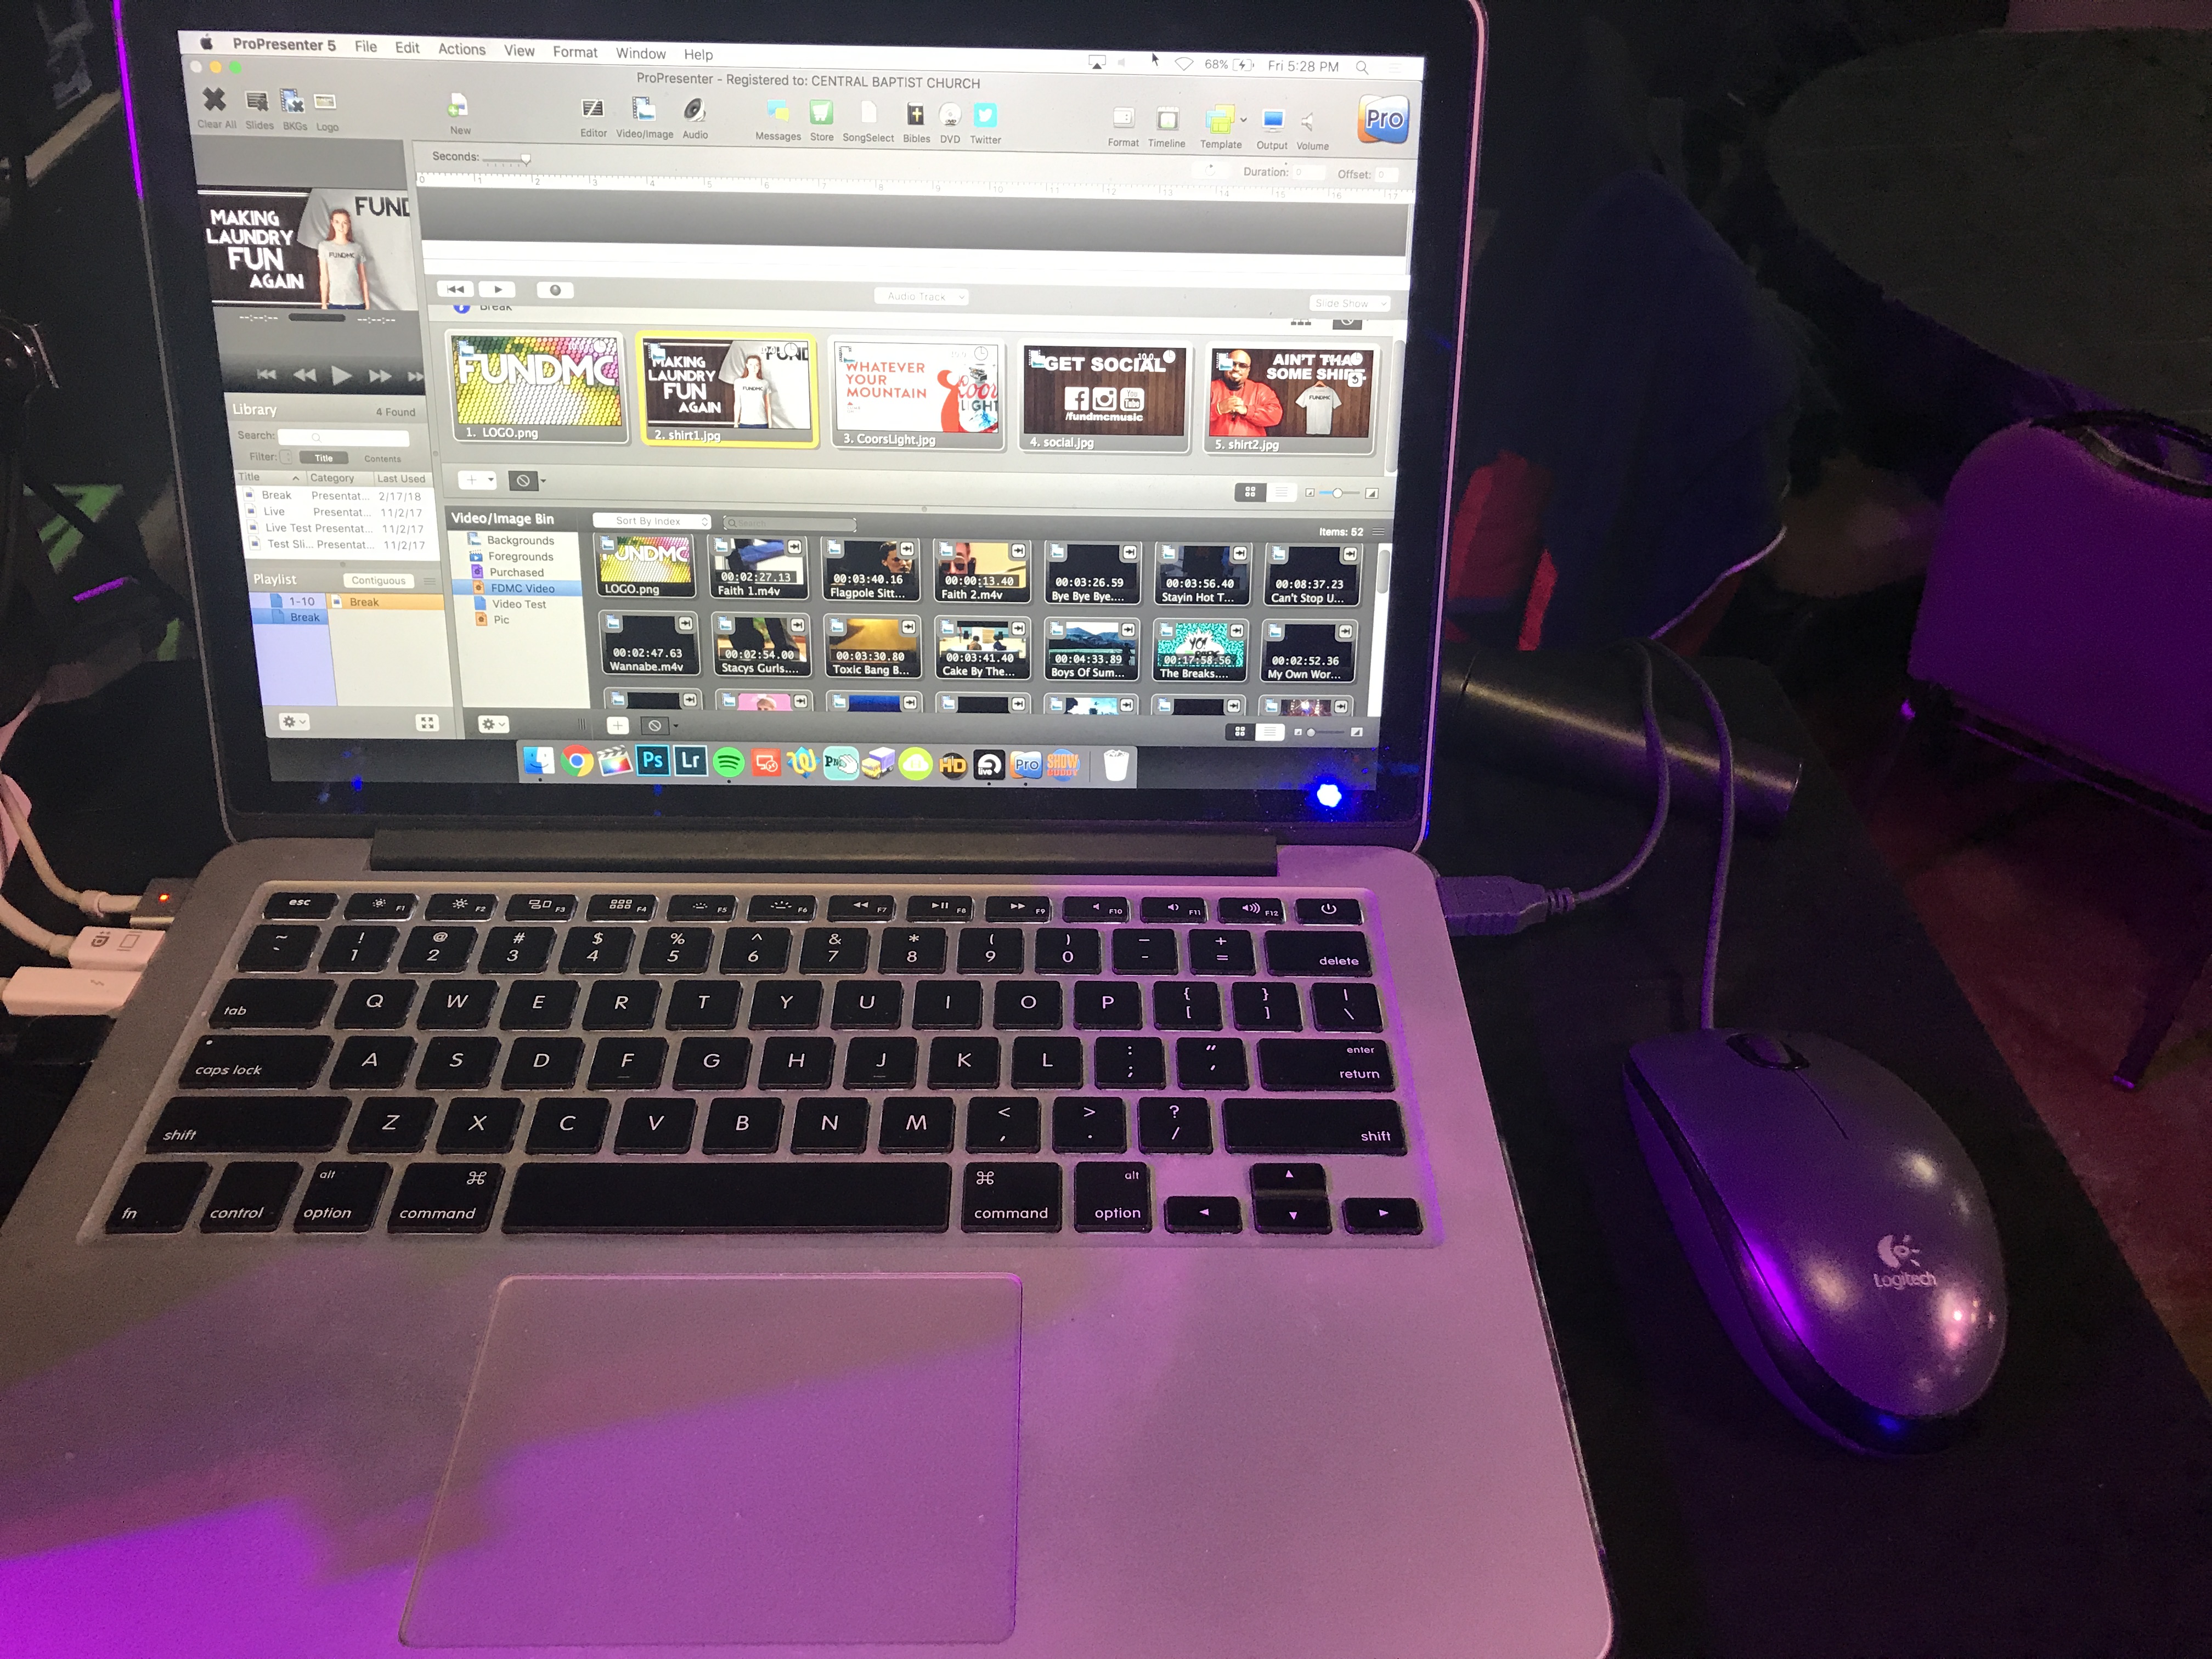
 Luckily, the church standard for presentation software, Renewed Vision ProPresenter, met our needs almost entirely. We had to buy an additional add-on module that allowed us to connect it to Ableton, but after some fiddling with our laptop’s MIDI settings (creating an IAC driver to let the two talk), we were in business. Integration into Live was just a matter of dropping a MIDI note at the beginning of each track that says which video clip to trigger from ProPresenter. We were also able to make up some splash screens that included our Logo, some Coors Light ads, merchandise ads, and even happy birthday messages, Instagram feeds, and wedding photos during a reception. The original plan was to run this on one laptop and everything else on another so that it didn’t stretch the memory too thin, but so far we’ve had zero hiccups with a single Macbook Pro.
The videos themselves took a little time to prepare, but creates such a neat visual for us in concert. Phase 1 was to make videos that are the original videos (or combination of them for mashups) that match the exact point that we’re at in the song. If Albert is singing the chorus to Bye Bye Bye, so is N’Sync on the screens, matching exactly. Because we use tracks, this meant we were able to adjust the video speed to match our set BPM (if they didn’t already), so once you drop a track into Final Cut and the video clip over it, it’s just a matter of sliding the speed around until it matches. We knocked out most of the videos for the launch with a few doing special videos (during the 80s medley, it’s a 14 minute montage of dancing clips from movies and tv shows from that decade). Phase 2 is to incorporate more special moments like that one that go beyond just playing music videos – tossing lyrics up on screen, video interaction with us, projecting iphones live to the screens, and more. Where did we get the music videos from? That’s a potential grey area of copyright that I don’t intend to explore here, but I will say that you can download just about anything from video sites.
Connecting The Dots
The last part of this whole thing is the physical connections to make all of this work. We touched on some of them earlier, but for you gear heads, here’s our rundown:
Control
- Mid-2004 13″ Macbook Pro, 2.6 GHz Intel Core i5, 8 GB 1600 MHz DDR3
- Focusrite Saffire PRO 14 8 in / 6 out Firewire audio interface
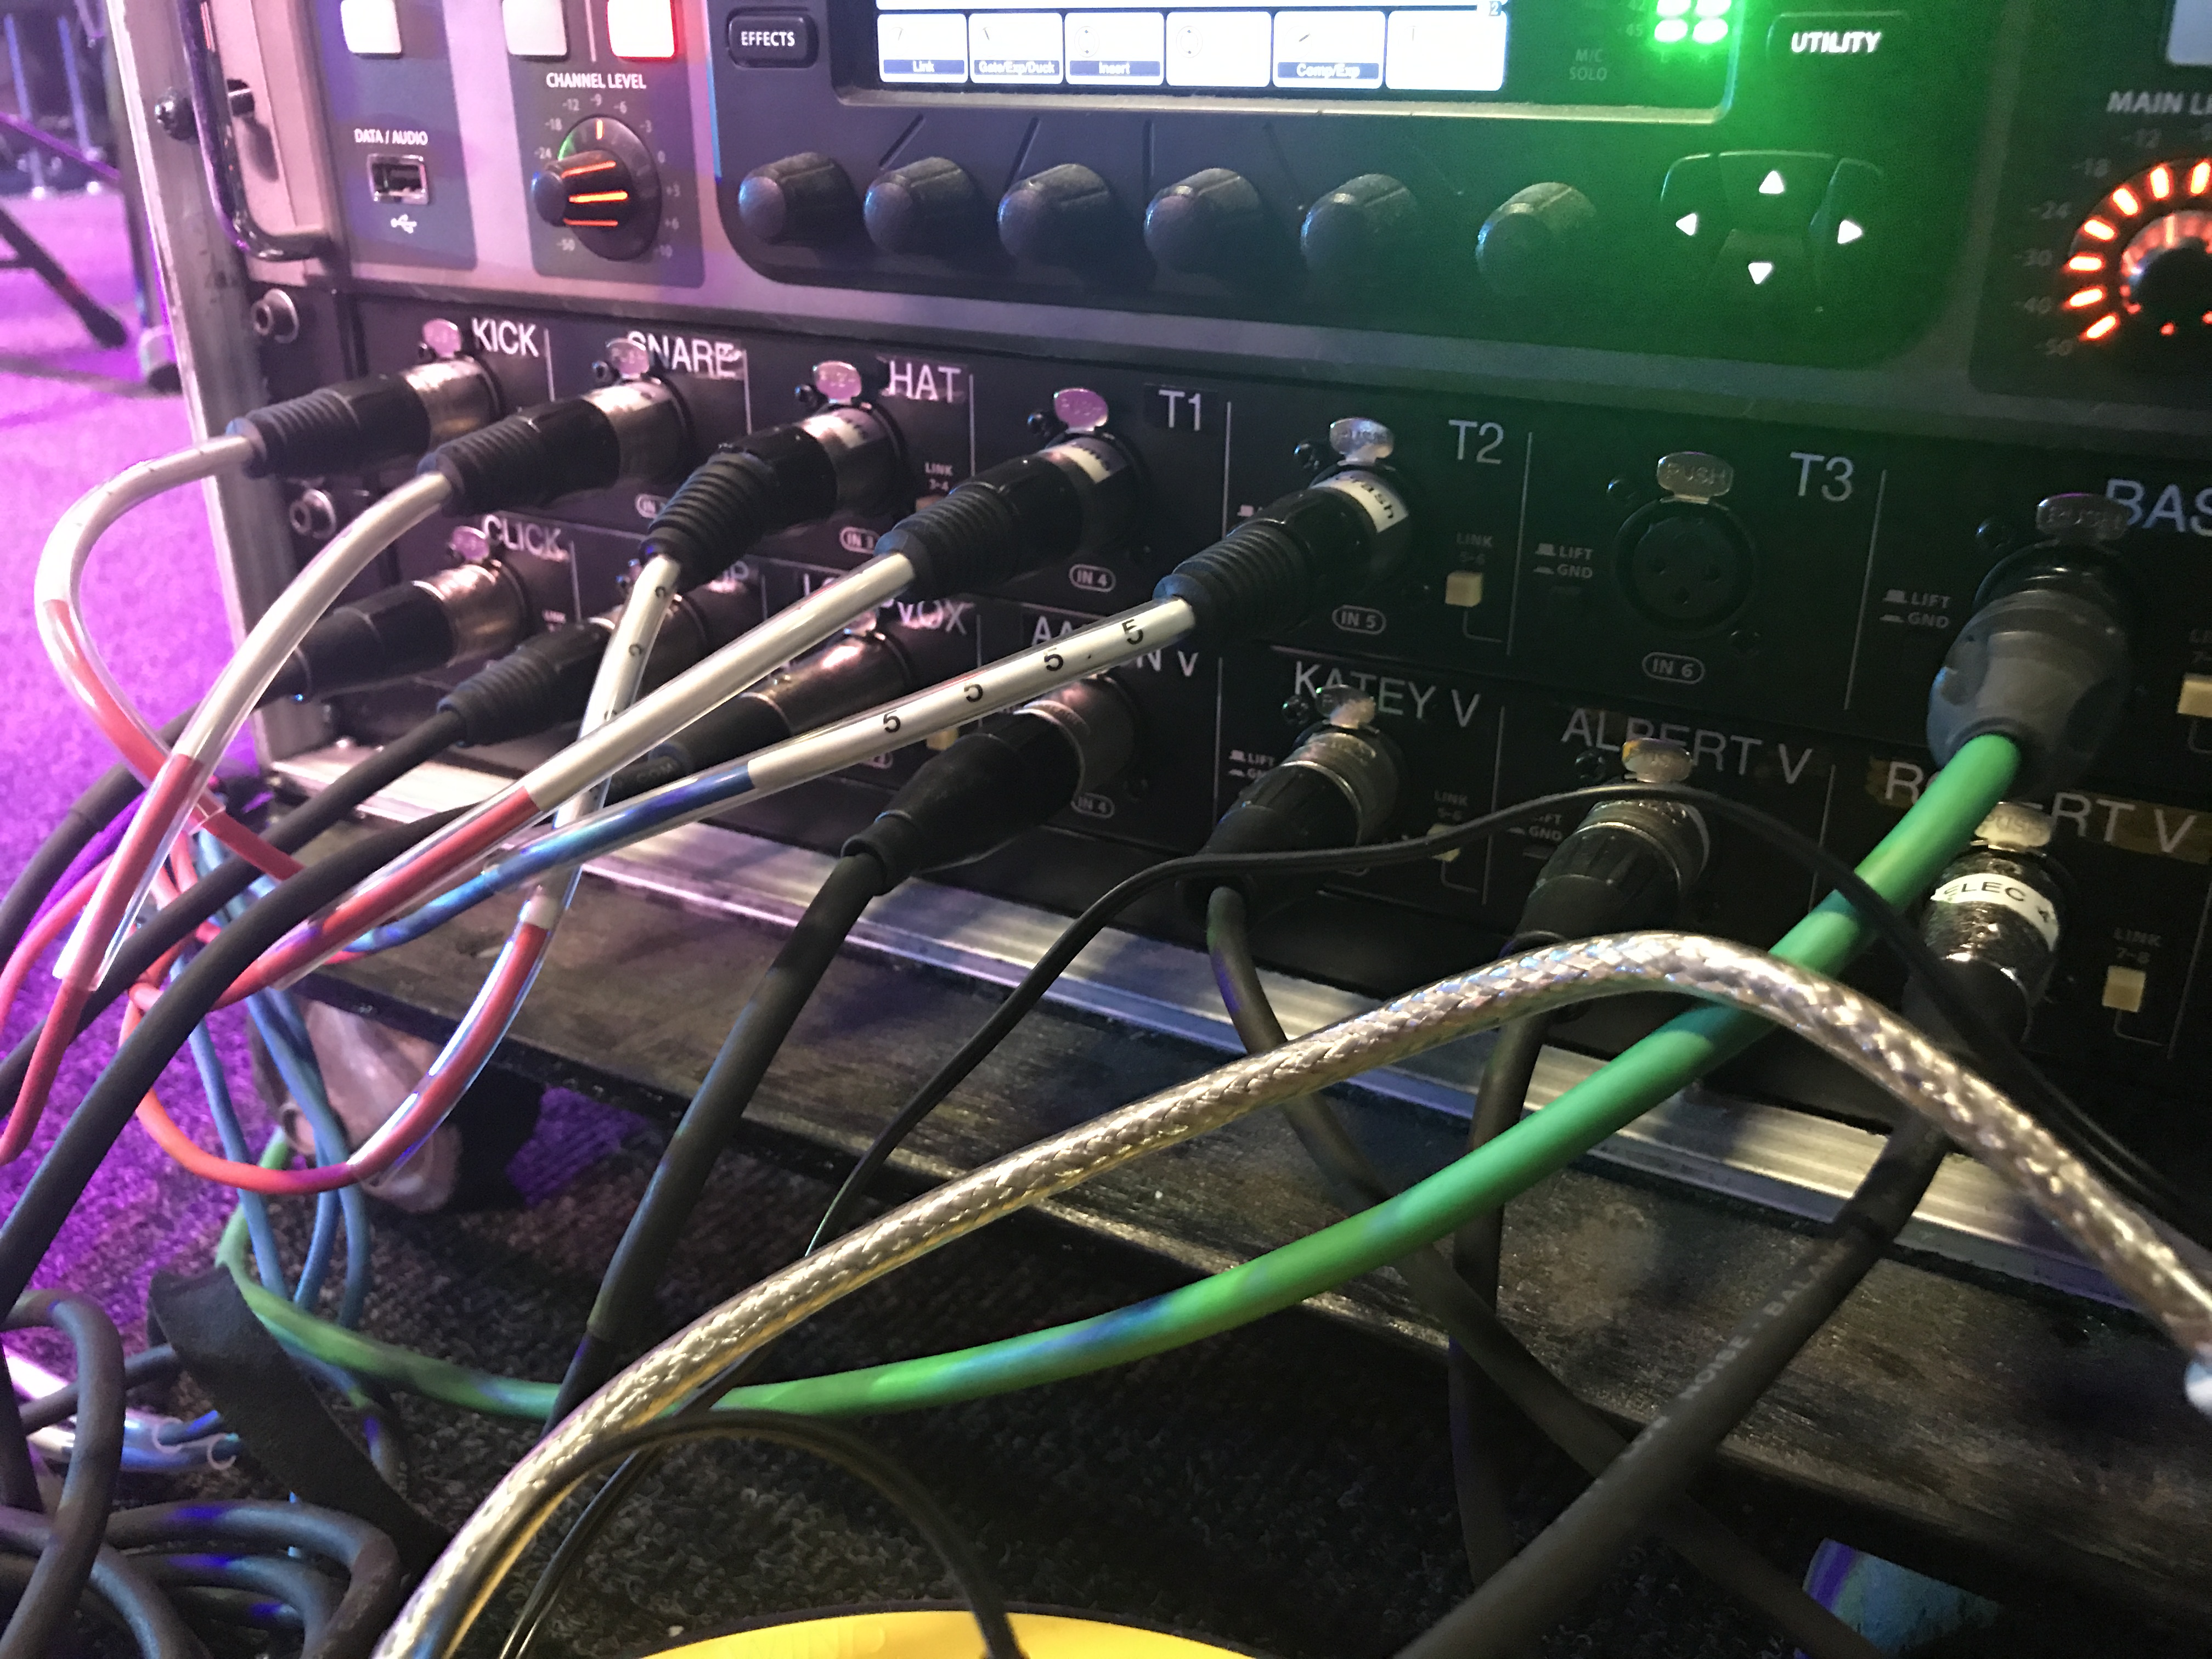
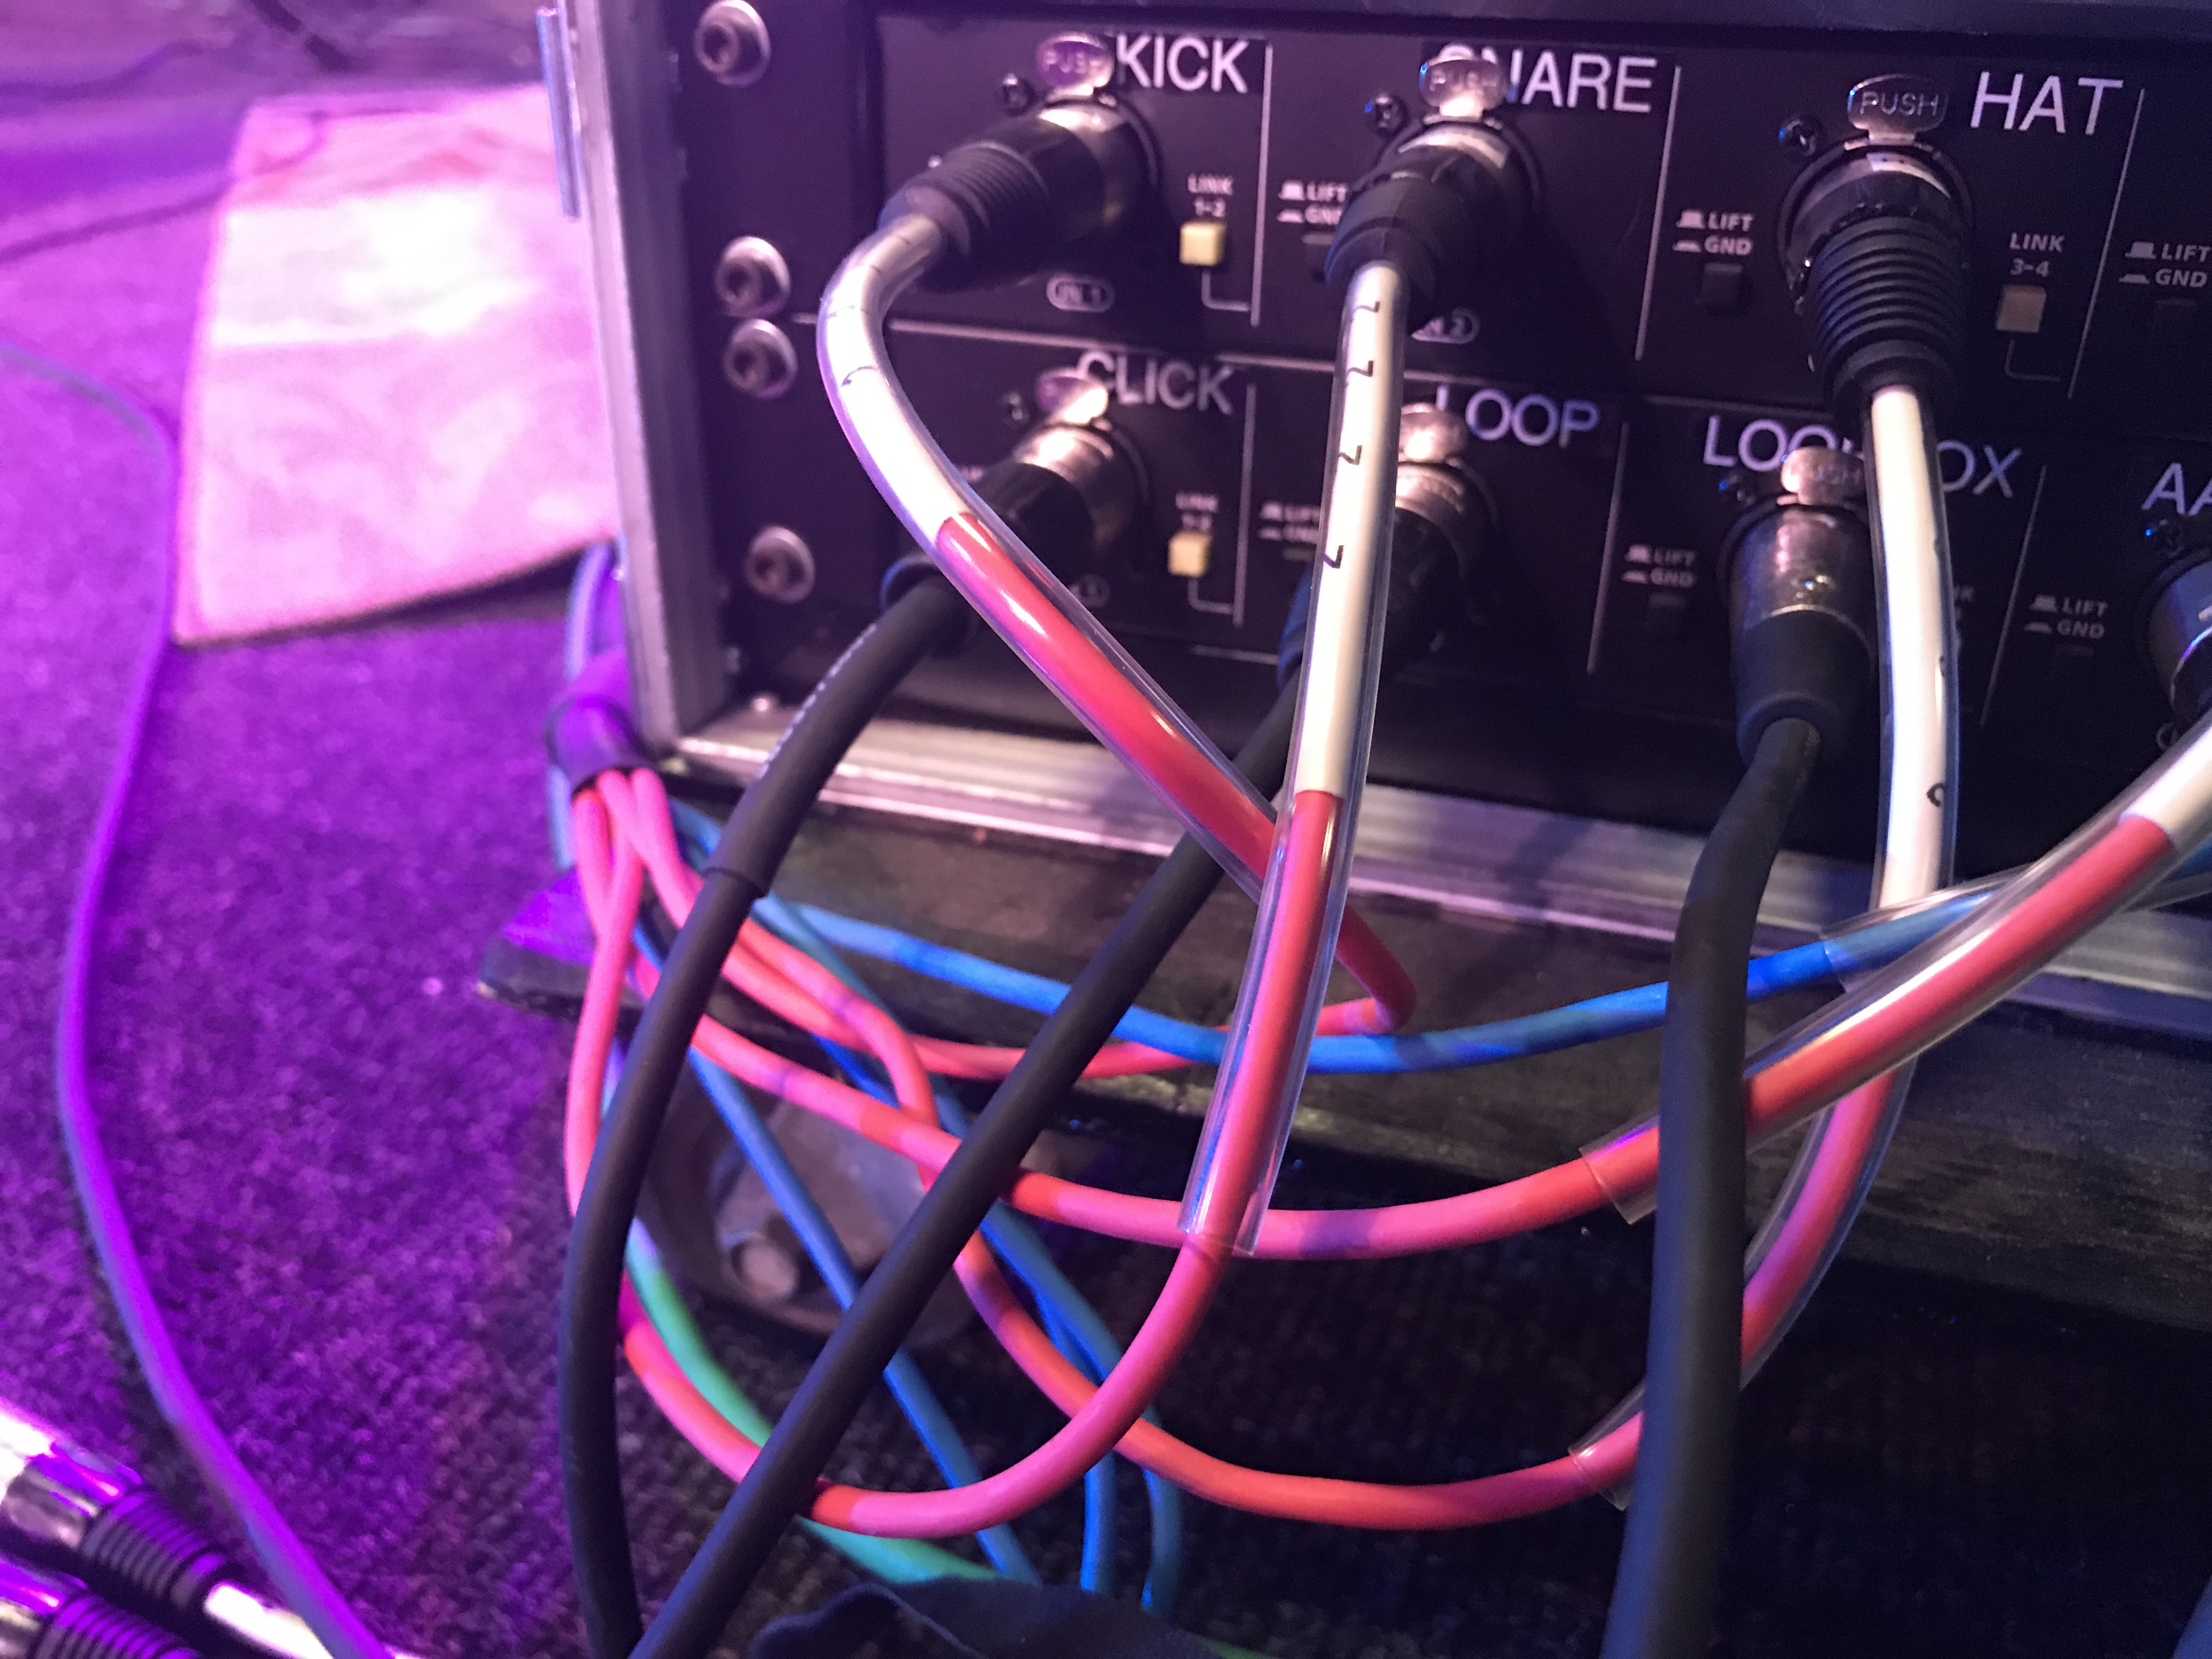
- Patchbay that runs a snake to the patchbay on our rack
- Looptimus – USB control pedal that we can assign commands to (track start, track stop, lights up, TVs go to logo, next track, previous track, turn on/off bass tracks)
- Behringer X32 Rack – running an ipad for Front of House sound and individual controls for our in-ear mixes
- Ableton Live – triggering everything
Lighting
- Enttec DMXIS – external lighting controller
- ShowBuddy – quick track sync for lighting cues
Video
- 2 Phillips 42″ television screens
- Mounting brackets
- On-Stage Air Lift Screen Mounts
- 2 50′ HDMI Cables
- HDMI Splitter
- Renewed Vision ProPresenter with MIDI module
Other Miscellaneous Software
- Final Cut Pro X – editing and assembling videos
- Logic Pro X – editing and assembling tracks
- Audacity – modifying track BPM and key
- Photoshop CC – making video screens on the fly
- Saffire Mixcontrol – routing outputs from Live to the Focusrite