Building A DIY Drum Riser – Step By Step Plans and Instructions
Posted by Fun DMC on March 21st 2016
A drum riser has been our radar ever since we got a trailer to tow one around in but it always felt too expensive or time-intensive so we’ve been reluctant to take it on. However, since we bought a few moving lights (that look really good when elevated a foot) and have played more and more places that have one built into their stage, we thought it was time to reconsider the idea. Aaron is usually the band member willing to take on the crazier projects. He had a few evenings free and a new table saw asking to be played with, so he started doing some research, drawing up plans, and discussing options for a DIY drum riser.
Plans and Brainstorming
In building the drum riser, Aaron was tasked with a few requirements:
- More than stable enough to not only support Talon’s full kit as well as Robert, who will inevitably take a flying leap off of it during a guitar solo.
- Be able to be easily carried by the band.
- Be able to easily fit in our trailer (not a lot of room left).
- Be able to be set up and torn down quickly without tools.
- Look professional.
Aside from figuring out the size issue (our trailer is just under 6′ wide, so even a 6×6 foot platform – which would be tight for drums = would have to be loaded sideways which we might not have room for. Additionally, Fun DMC has always prided itself on taking all of our projects a few ambitious steps above and beyond where most would stop. If we were going to put the time and funding into building a drum riser, we wanted to add that special touch to it that would make it stand out and be it’s own attention-getting part of our show. Since building our lighting show has been a big priority for us lately, we got the crazy idea to add lighting that could be programmed into our show into the drum riser. This means that power had to be built in, as well as a way to connect the lights to our controller. And since we were planning on setting some of our moving lights on top, we might as well build in power to support those as well, so we’re not running extension cords everywhere. If we’re going to do it, let’s keep it clean (see requirement #5). So, after doing a lot of drawing up plans and consulting with an electrician friend, the project was under way.
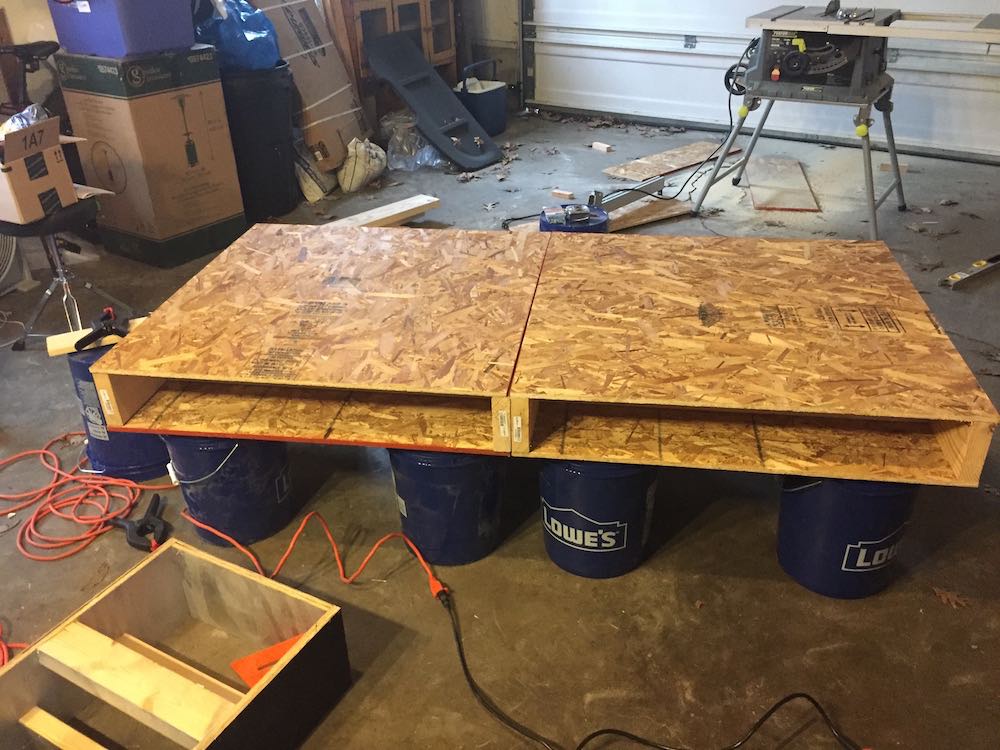
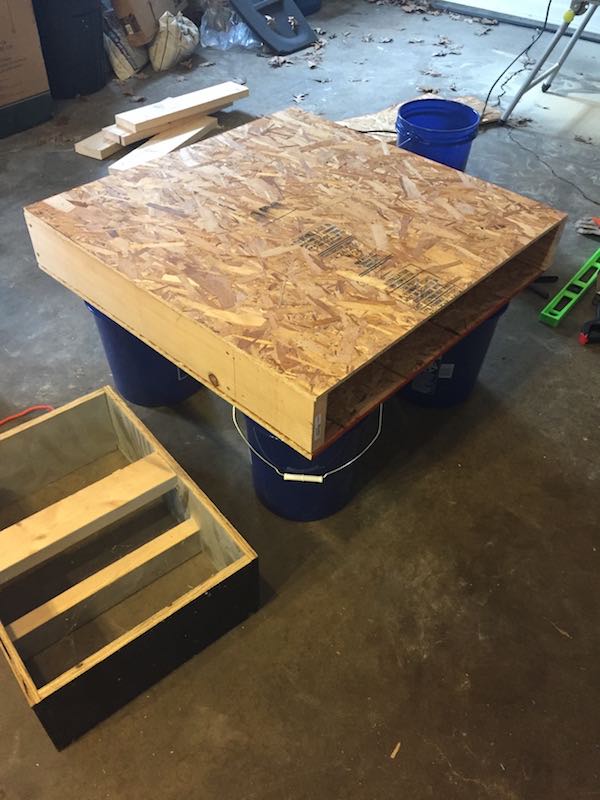
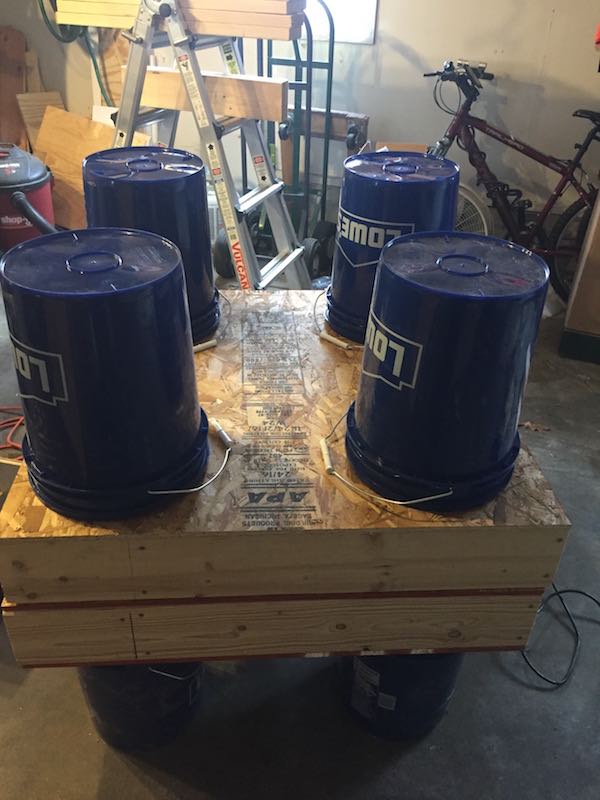
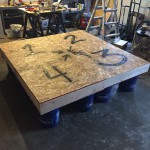
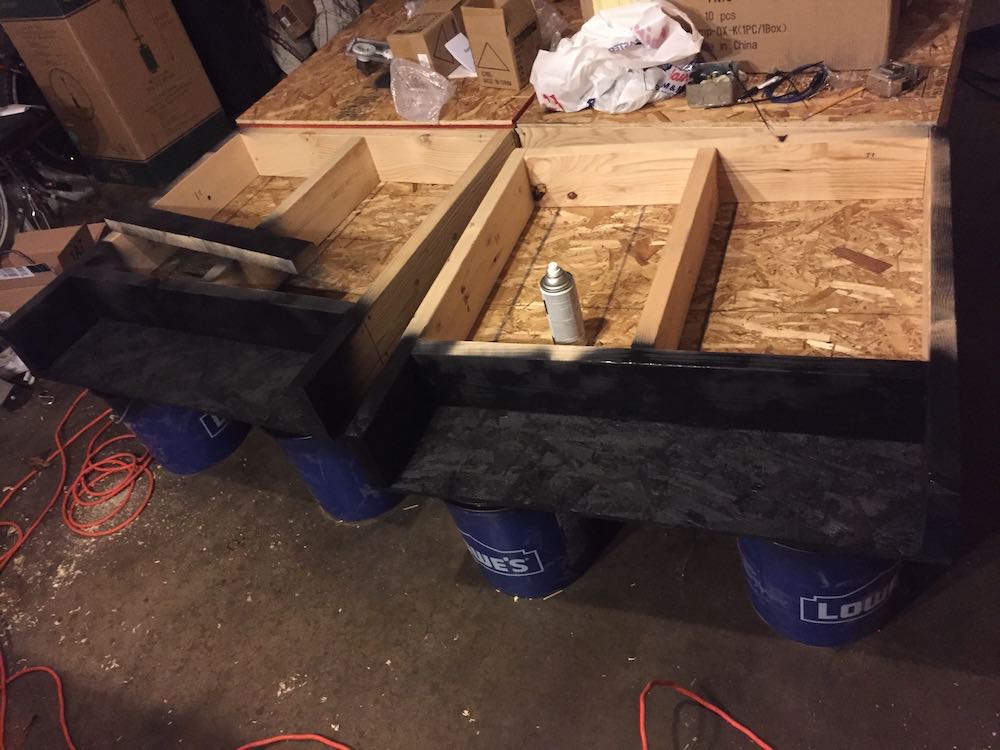
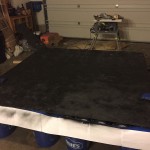
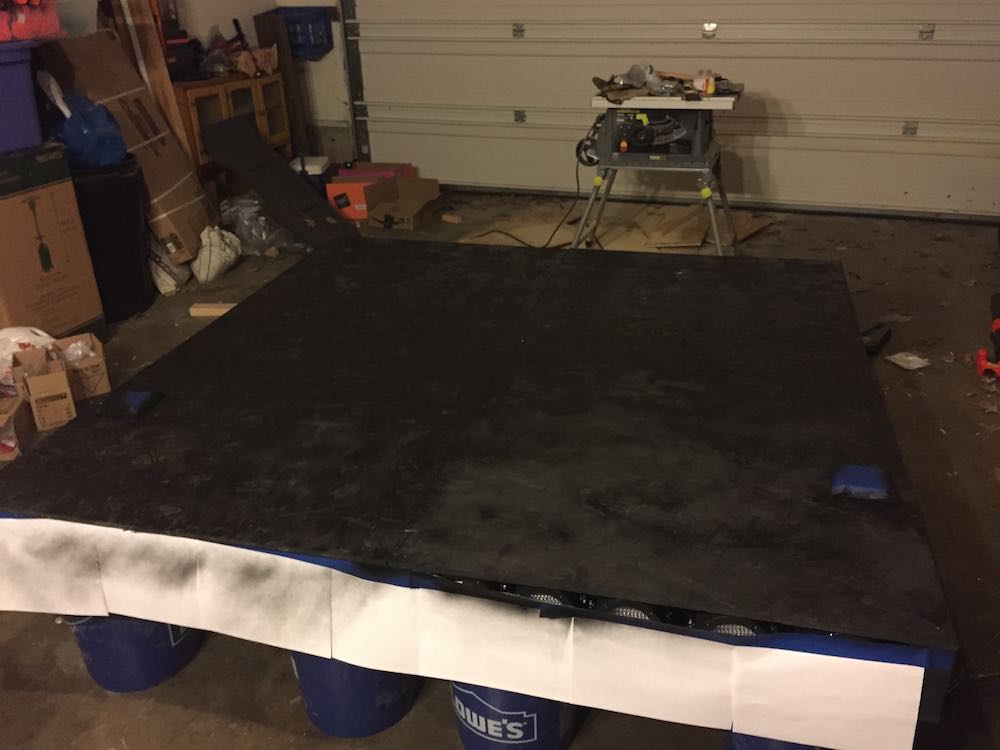
The plan was to build 4 3 foot by 3 foot independent sections that could be easily carried and fit width-wise in the trailer. They would each be supported by four buckets, which is a popular DIY drum riser plan (there are a few bands around here who have done it this way) and can be broken down assembled, and transported very easily. The two front panels would each have 5 DMX mini par LED cans chained together with a wireless DMX receiver at the end. This would be powered by a flush power inlet that we could run an extension cord to and plug directly into the riser and would also power 4 outlets on top. In total, Talon would sit 15″ off of the ground.
Shopping List
- 4 4’x8′ sheets of 1/2″ OSF plywood – Lowe’s
- 60′ of 2’x6′ boards (roughly 15′ per section) – Lowe’s
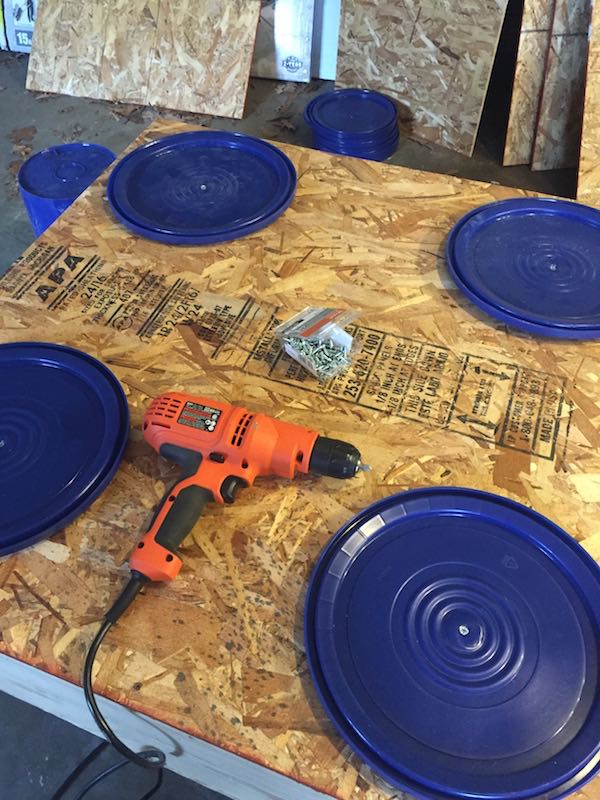
- 16 standard buckets and lids – Lowe’s
- 2 15 amp power inlets – Amazon
- 2 Wireless DMX receivers (these match our receivers for the rest of our lights) – Amazon
- 8 2′ XLR patch cables – Amazon
- 10 LED DMX Stage lights – Ebay
Size – 3 1/2” x 4 3/4′ - 2 6 outlet power strips – Lowe’s
- 3 straps – Lowe’s
- 6 eye hooks – Lowe’s
- 1 7/8″ drill borer – Ace Hardware
- Black spray paint – Lowe’s
- Wire – Lowe’s
- 10 4″ long 5/8″ bolts – Lowe’s
- 20 flat washers with 5/8″ inlet – Lowe’s
- 10 5/8″ nuts
- 2 2-gang outlet boxes – Lowe’s
- 4 standard outlets – Lowe’s
- 2 2-outlet outdoor electrical cover – Lowe’s
- 2″ wood deck screws
- 1/2″ metal screws
- 2 14″ x 6′ black fabric strips – Wal Mart
- Industrial strength velcro – Lowe’s
Tools Needed
Note: Aaron is not a contractor or carpenter. There are probably much better and safer ways to have done all of these things, but this is what he had available and what ultimately worked without him losing any fingers. If you know of a better way, then definitely do it that way. Be careful with power tools.
- Hammer Drill
- Wire cutters
- Wire strippers
- Table saw
- Jigsaw or Reciprocating Saw
- Level
- Pencil
- Straight edge
- Square
- Safety glasses
- Clamps
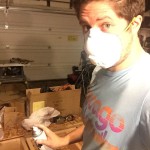
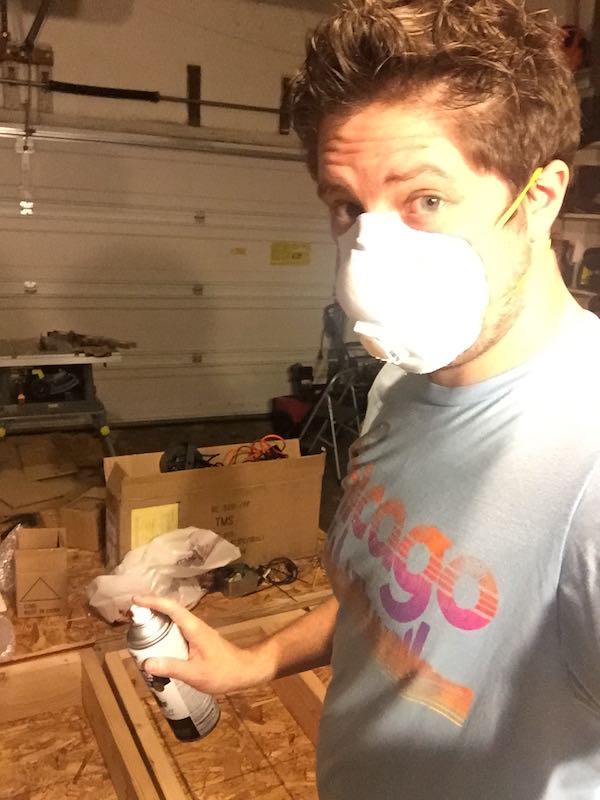
- Safety mask
- Ear protection
The Build
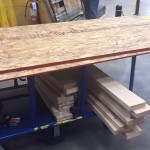
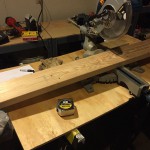
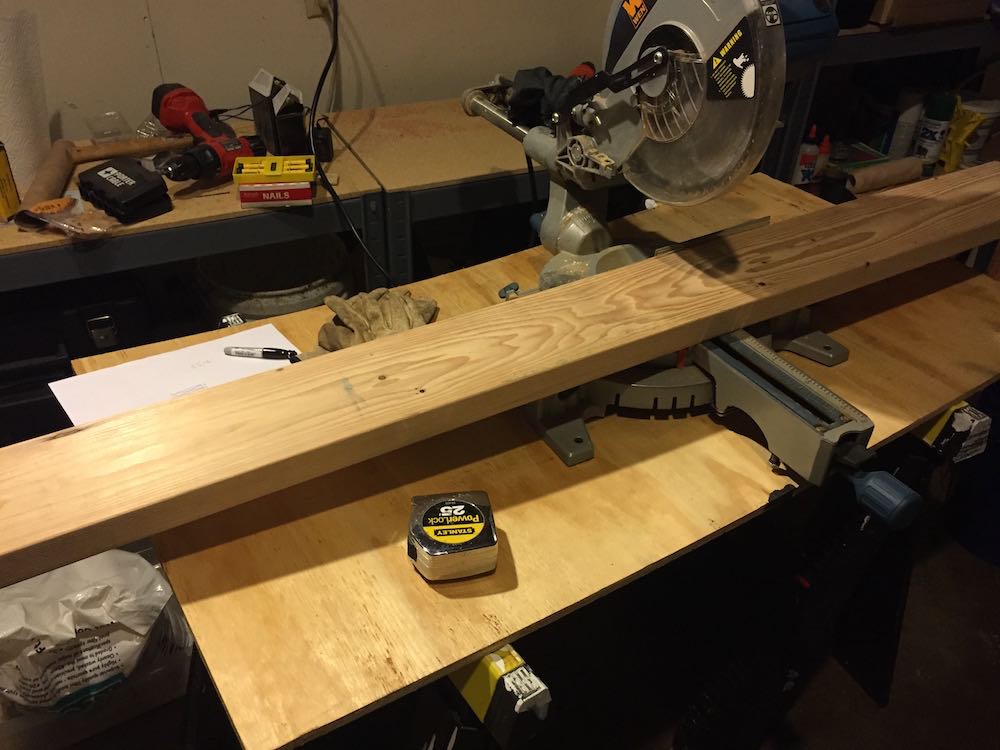
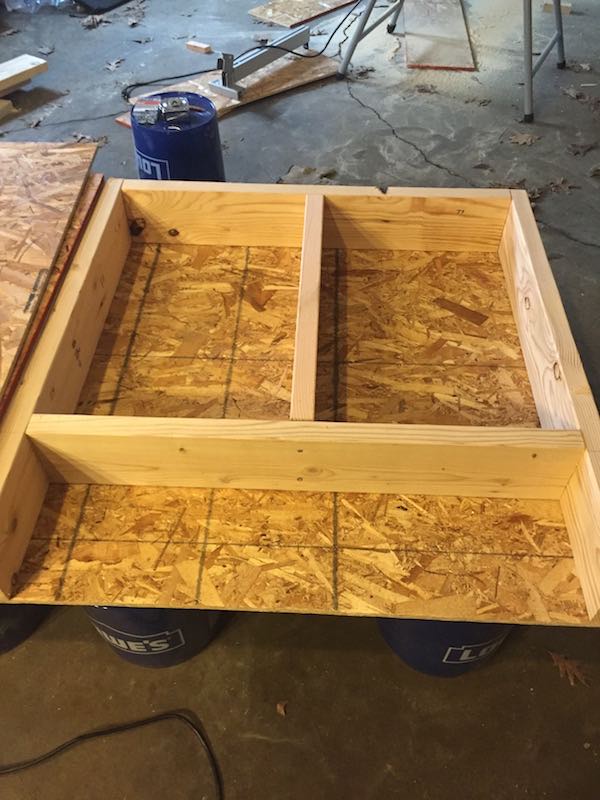
The first step was to get everything cut to size and to try out a section before doing all four. The sections needed to have a top and bottom, so we ultimately needed 8 3×3 plywood squares. 2×6 boards were selected over 2x4s so that the lights would fit. I can’t stress how important using a square, straight edge, and clamps are for making this all work in the end. For each section, we ended up needing the following:
- 2 36″ boards (sides)
- 2 33″ boards (front pieces)
- 1 27″ board (middle support)
- 1 27″ board cut down to 3.5″ high (lighting mount)
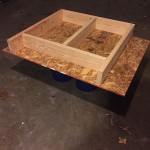
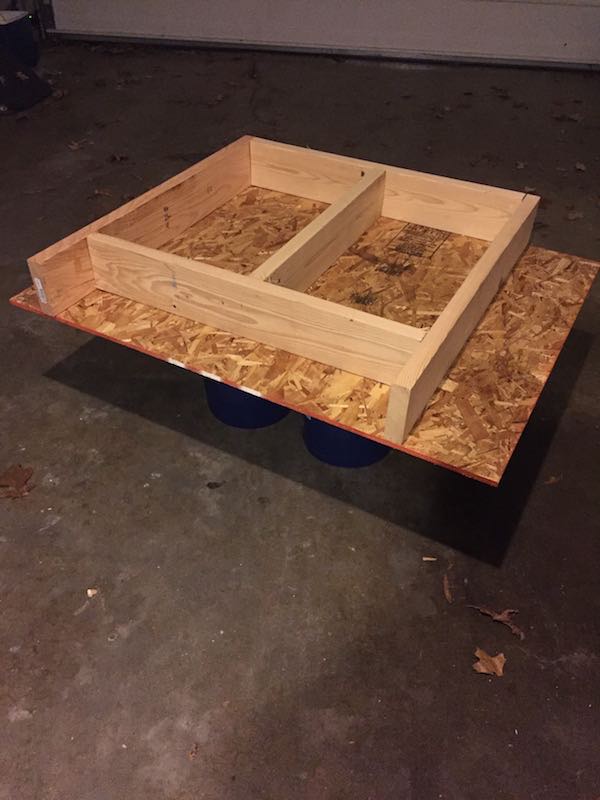
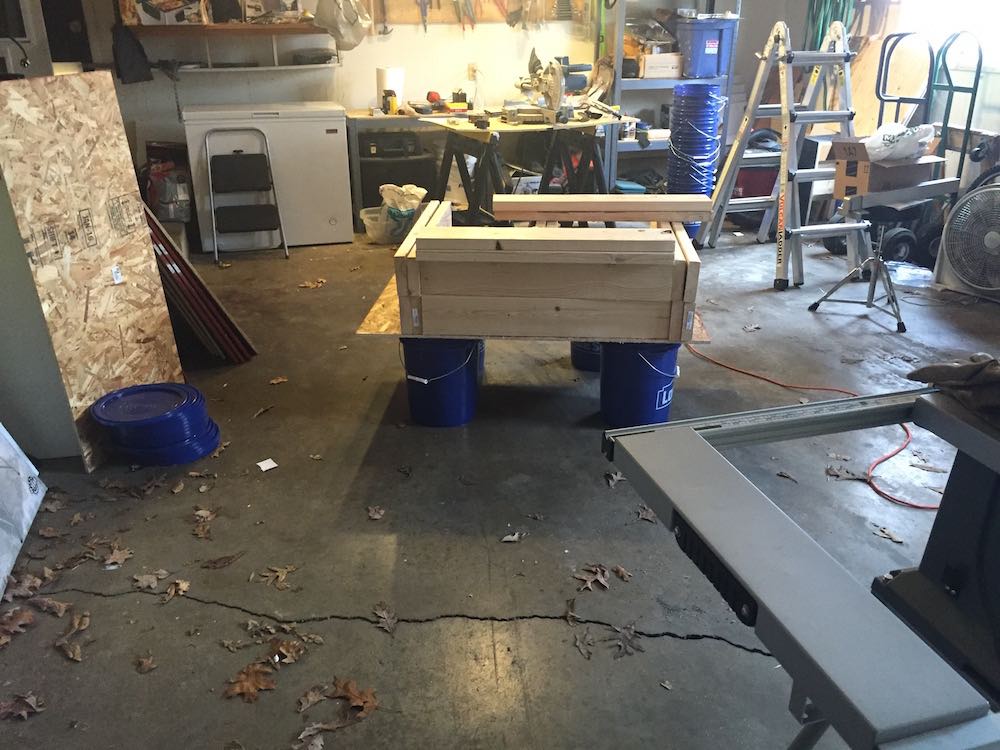
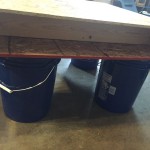
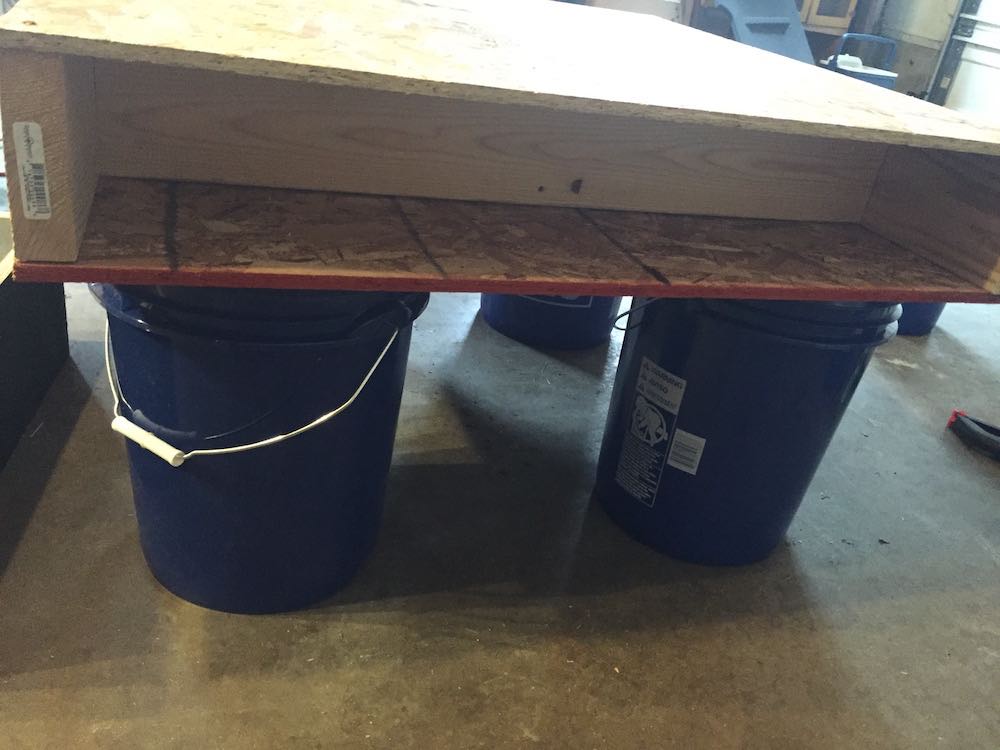
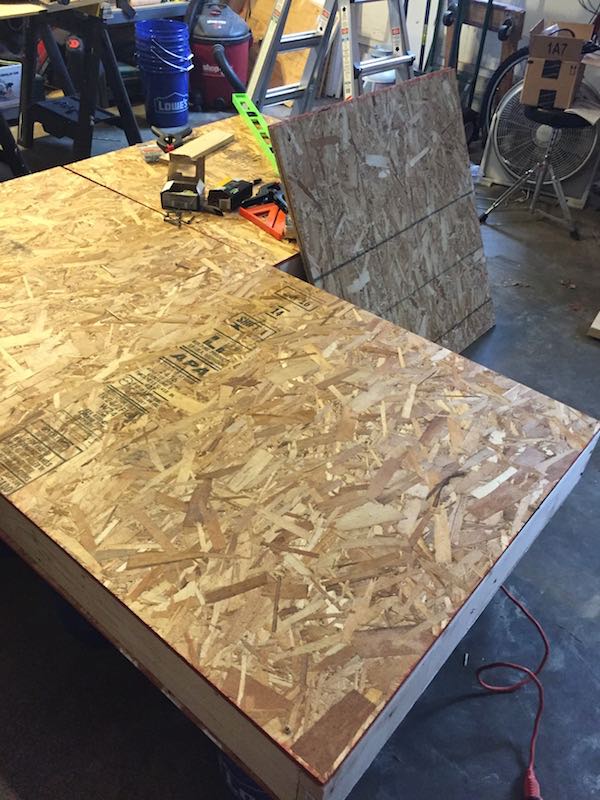
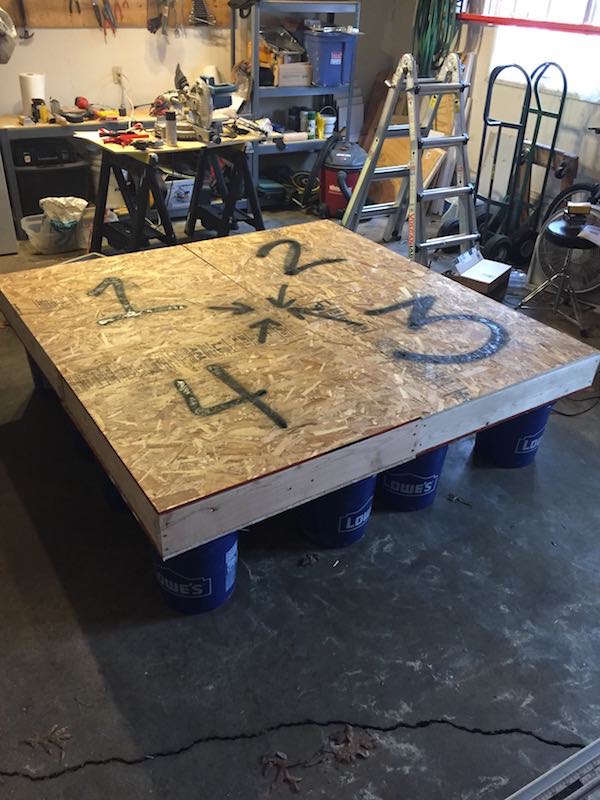
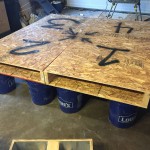
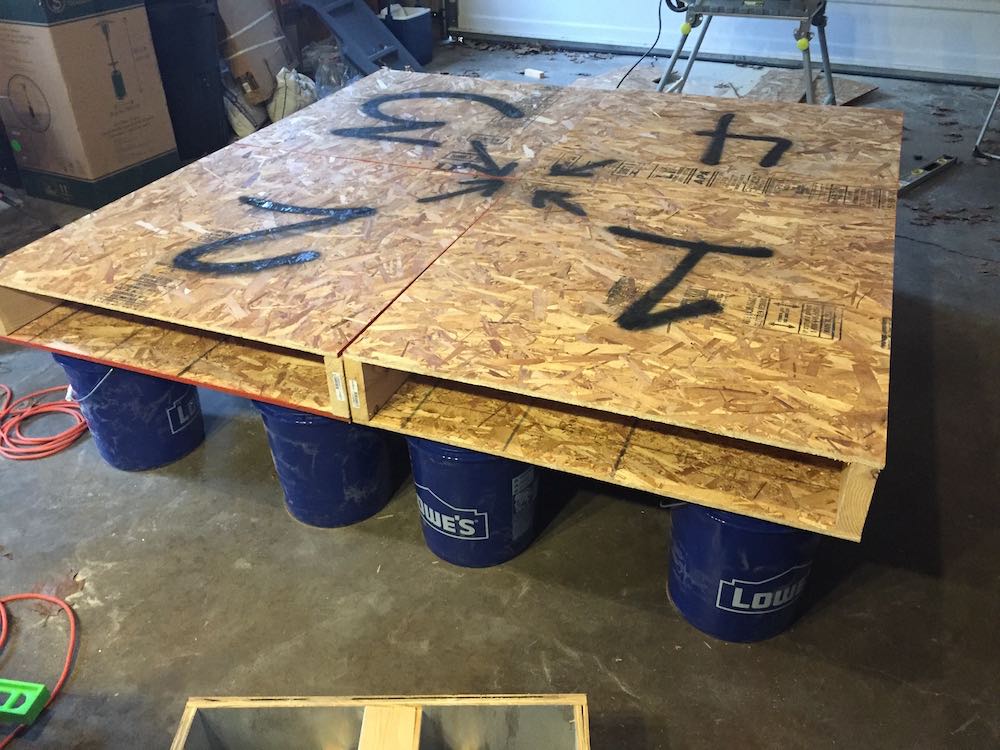
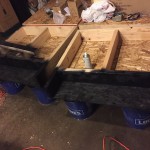
When assembled, the frame should end up looking like this. You can secure the bottom panel and even add the bucket lids, but don’t screw down the top panel yet. This would be a good time to test the stability. The gap in front leaves room for the lights to mount. Once you have four panels done, it would be a good idea to mark how they fit together. We found that even the best of cuts and measuring left some minor inconsistencies when they were pressed together, so we were able to adjust the top piece of plywood at the end to have them fit together very seamlessly.
The Wiring
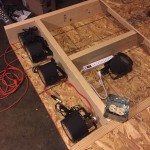
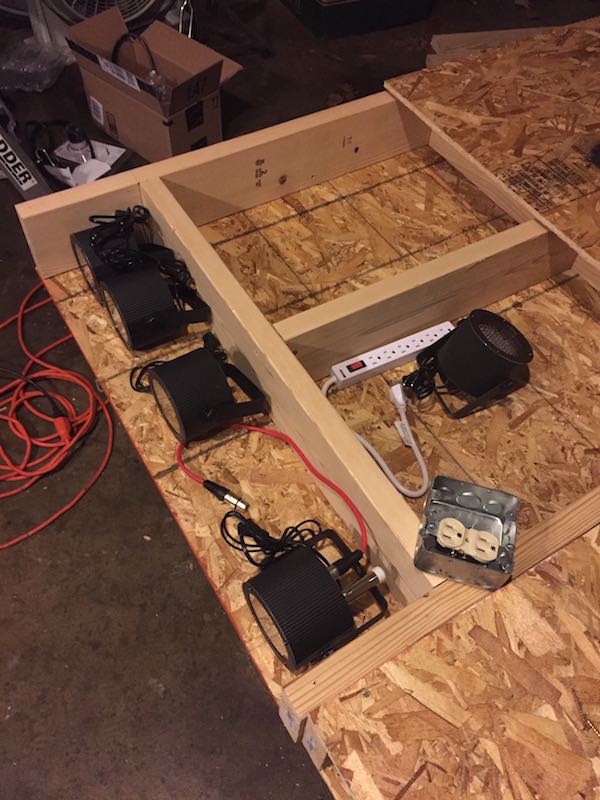
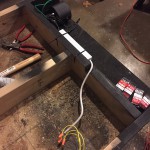
This was the part that took the longest and there was a lot of opportunity for stuff to not work right. We were pretty confident in our plans and the electrician’s advice, but when it comes to electricity we wanted to make sure we were being overly cautious. It was helpful to lay out all of the lights for spacing and test everything out before mounting them. This was where we realized our mistake. Because of the way the XLR cables and wireless adapter sticks out from the back of the lights, we wouldn’t be able to mount them flush against the back board. Luckily, an extra 27″ board that we sliced long ways to 3.5″ did the trick and gave us a bonus of having something to mount the power strip to. We routed a channel with the jigsaw to the area that would hold the wiring.
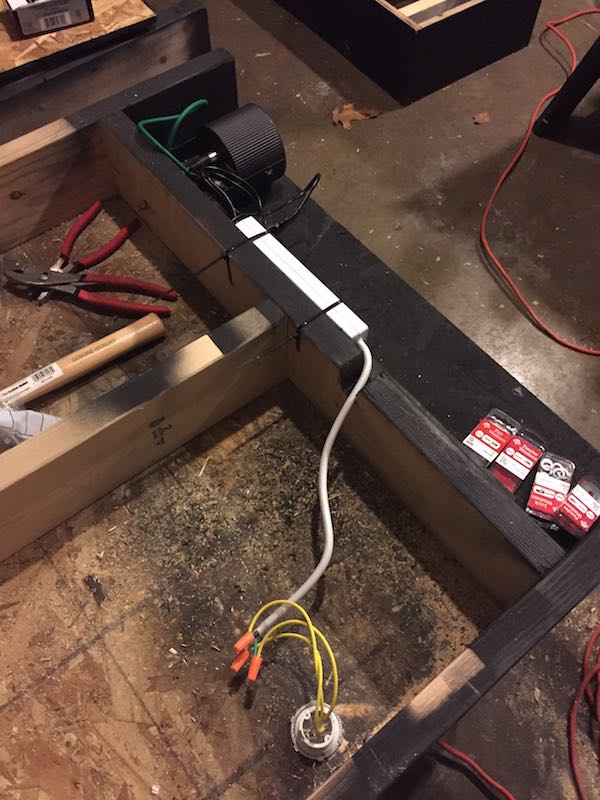
Next, we went ahead and painted the front part black and used the 1 7/8″ boring drill bit to pop a hole underneath for the power inlet. In the top panel, we cut the space for the power box that would sit in the middle of the edge of the side of the front panel.
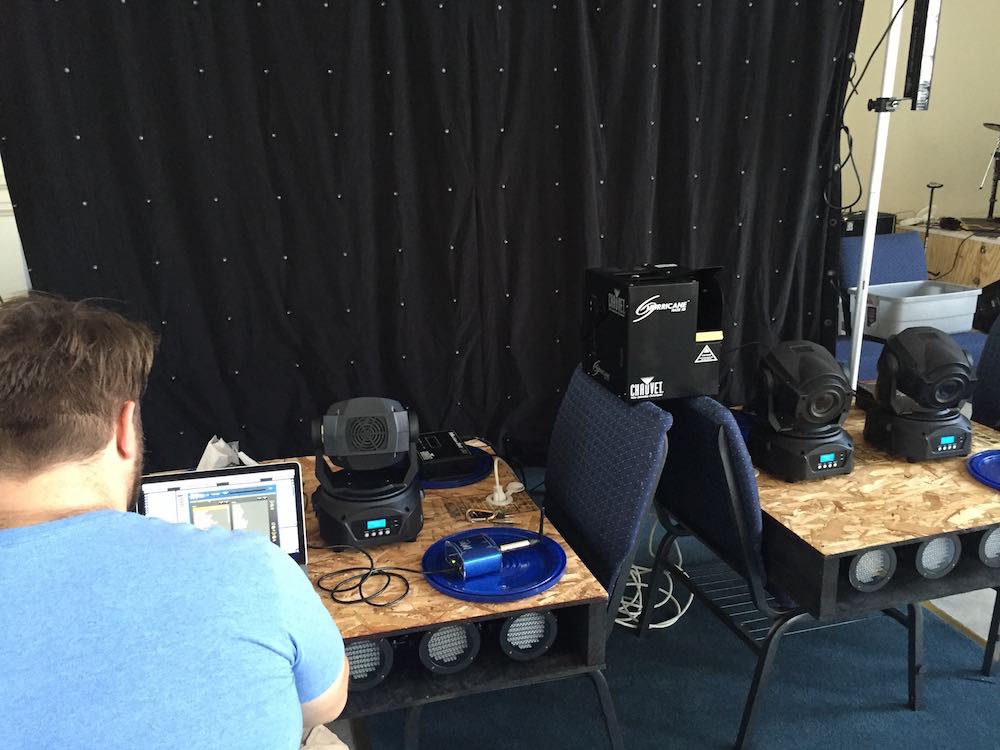
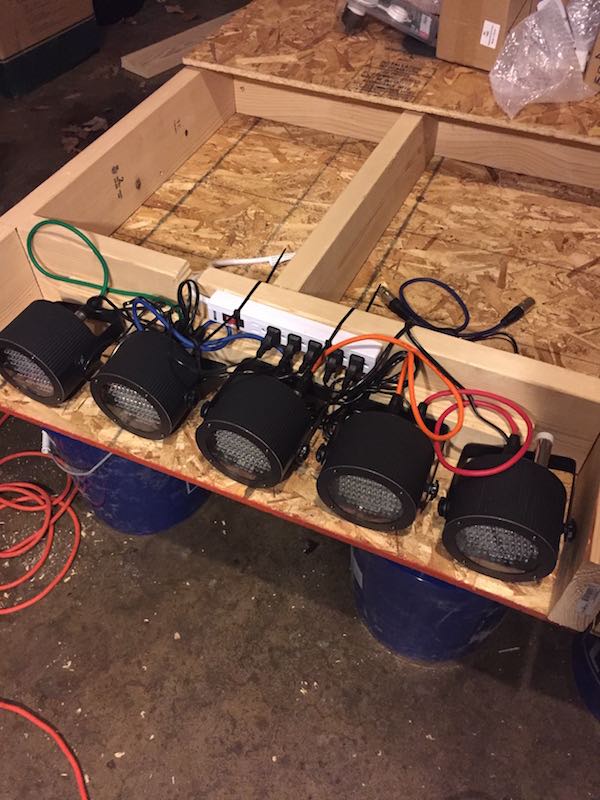
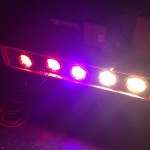
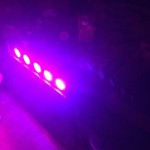
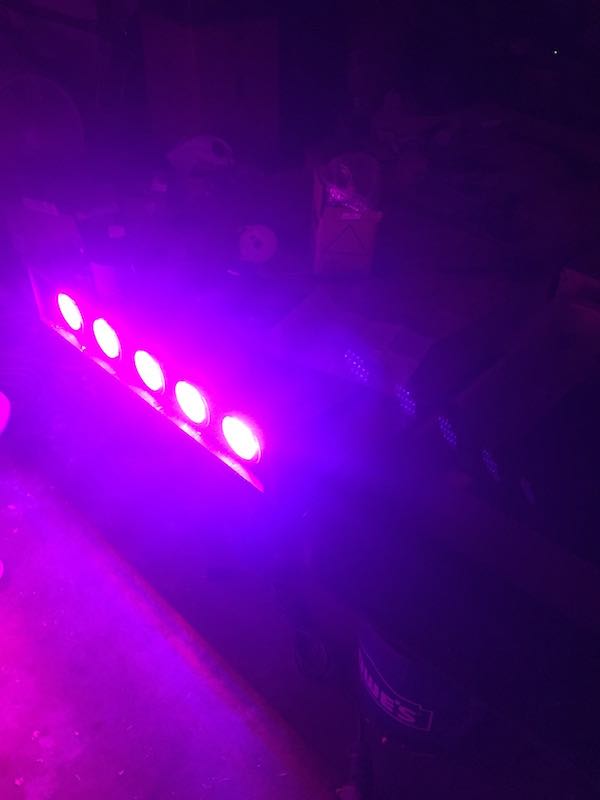
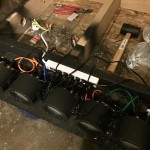
Now that we had our pieces in place, it was time to start connecting wires. To make sure everything worked, we first started with the lights. We cut the end off of the power strip and wired it directly to the power inlet. Yes, the yellow wiring is a no-no. We labeled them as we went so we wouldn’t lose track, but looking back, we should have done it right the first time. Once we tested the connection, we mounted the the lights using the bolts and tested them out. Note – the power strip was mounted using screws but then secured with zip ties to keep it from rattling. I also wrapped electric tape around each light plug to keep them from slipping out of place and put a layer across the dip switches. The wireless adapter and all the lights connected perfectly to our Ableton setup, so we were good to move forward.
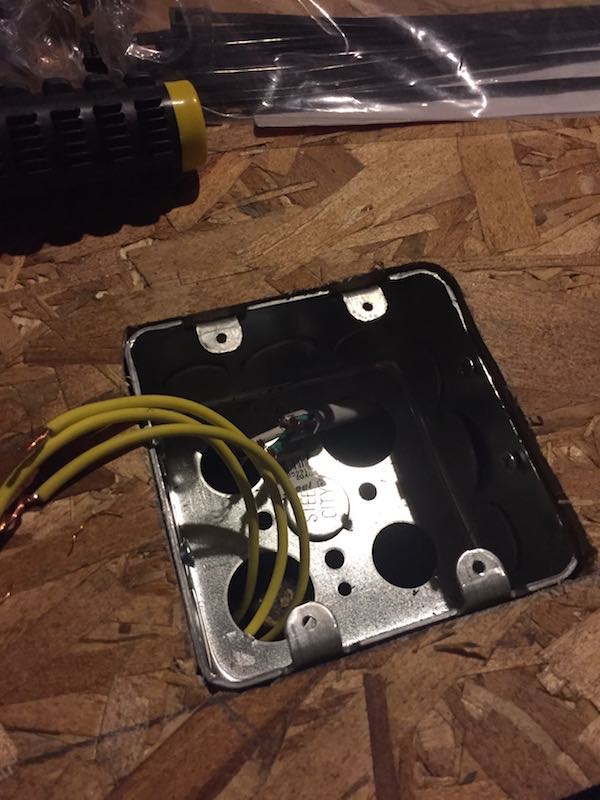
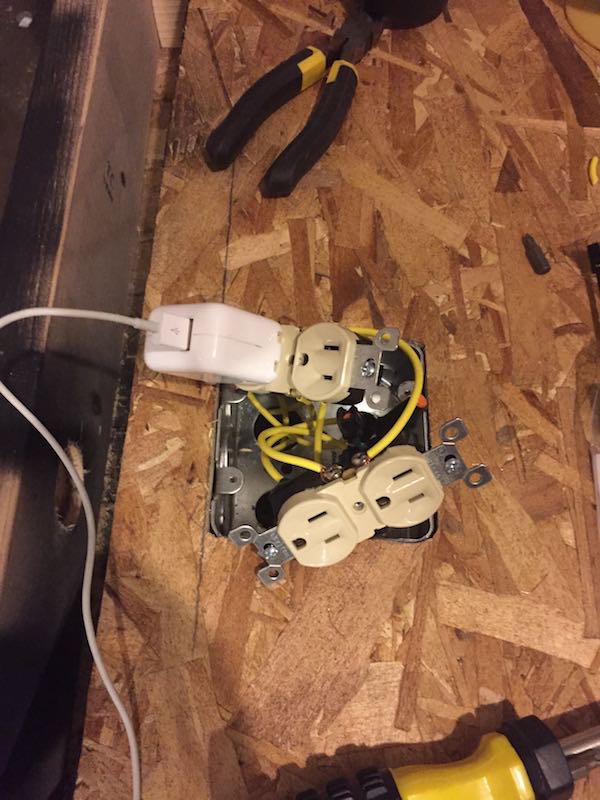
Next, we mounted the electrical box for the outlets and ran wiring from the plug. The wiring was a pain to get in a small space, but once the outlets were wired together, we tested each one to make sure we had power across the board. Next was installing the cover. Now that we had power and working lights, it was time for the finish up.
Finishing Touches
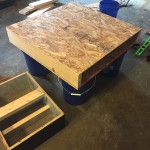
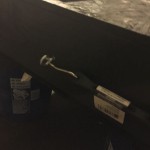
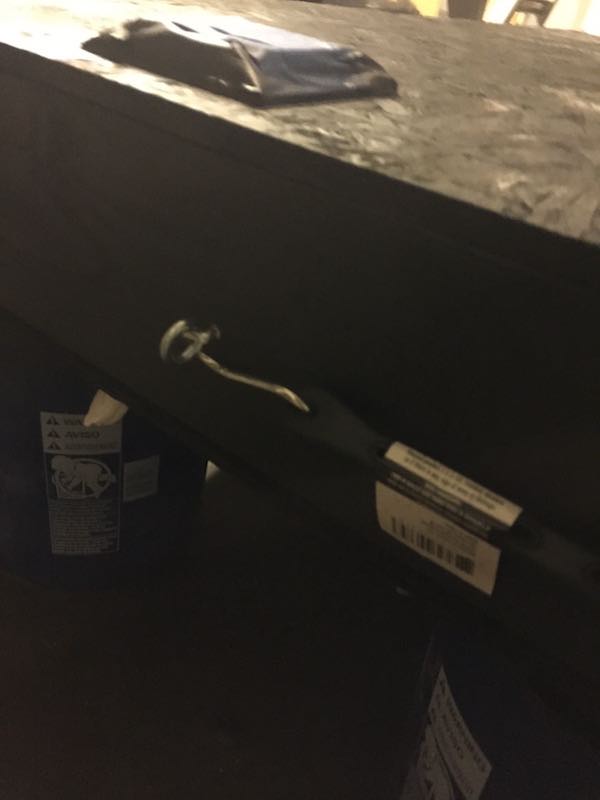
We taped up the outlets and covered the lighting area so we could finish painting. We did the entire thing black, including the parts that wouldn’t necessarily be visible, just for consistency. Next, we installed eye bolts and the straps on the sides and back to keep it from separating when the drums were played. Finally, we picked up some fabric and industrial velcro from Wal-Mart to sew a nice wrap around to cover the buckets. The next step is probably a layer of carpet squares across the top so that Talon doesn’t have to bring a carpet with.
Summary
It took 3 evenings from start to finish once we had the design laid out. We have approximately 8 hours total and it looks and functions fantastically. At the venue, we were able to easily carry in each section and set it up in under 10 minutes. The lights looked incredible once they were programmed into our system and everyone in the band is very happy with the final product. It’s definitely an attention-getter!

Here is the full gallery of the process that will hopefully serve as a guide if you decide to take this on. Feel free to contact us with any questions.
-
- Shopping for supplies. Fun fact – Lowe’s will cut down your boards to size!

-
- Cutting down boards.
-
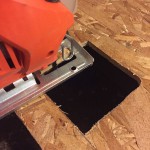
- More cutting. Make sure you’re precise.
-
- Laying it all out before cutting plywood.
-
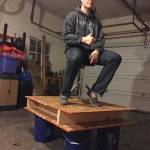
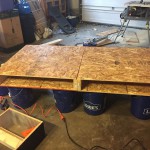
- Testing stability.
-
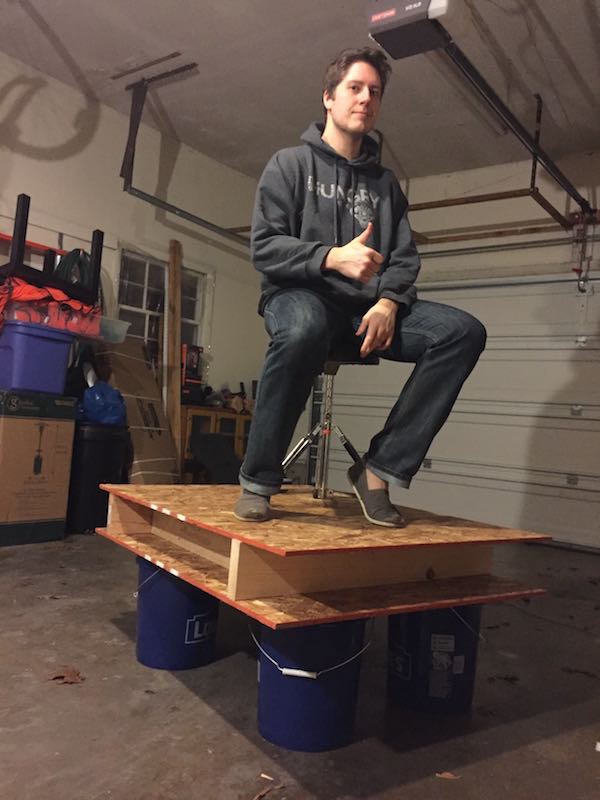
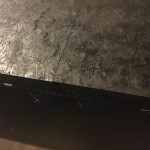
- Perspective of how high up it sits.
-
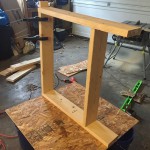
- Putting the frame together.
-
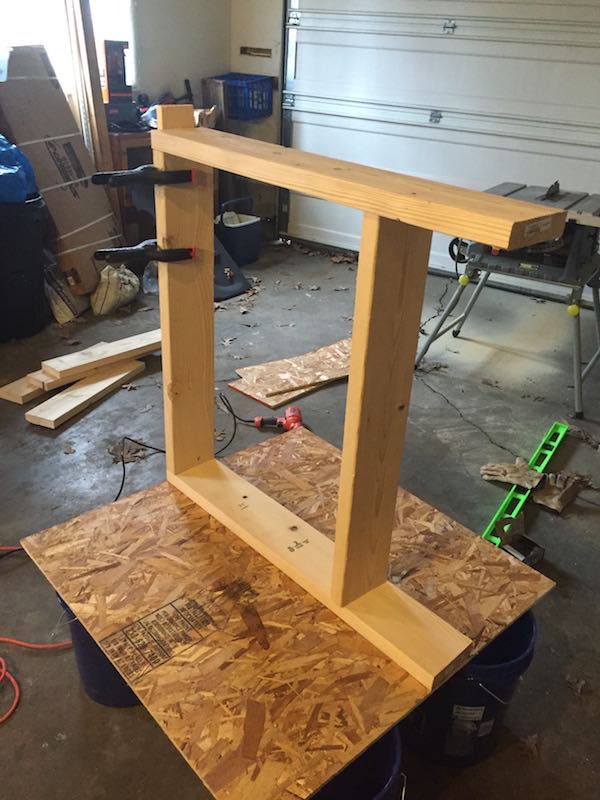
- One down!
-
- View of the light area.
-
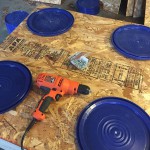
- Adding the bucket lids.
-
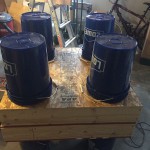
- Snapping on the buckets.
-

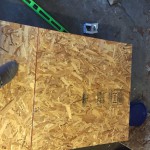
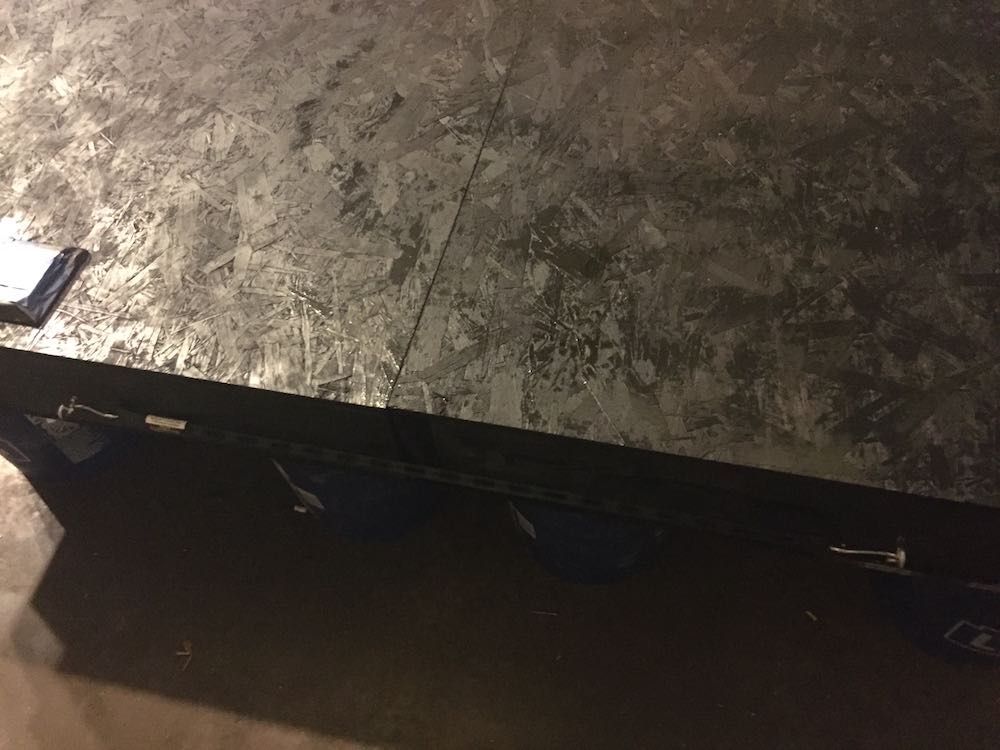
- The final interior, minus the top panel.
-
- Making more sections.
-
- Testing stability.
-
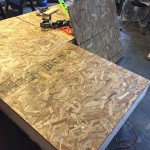
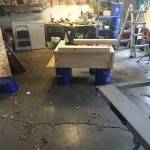
- Three down.
-
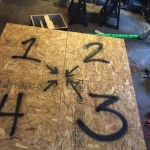
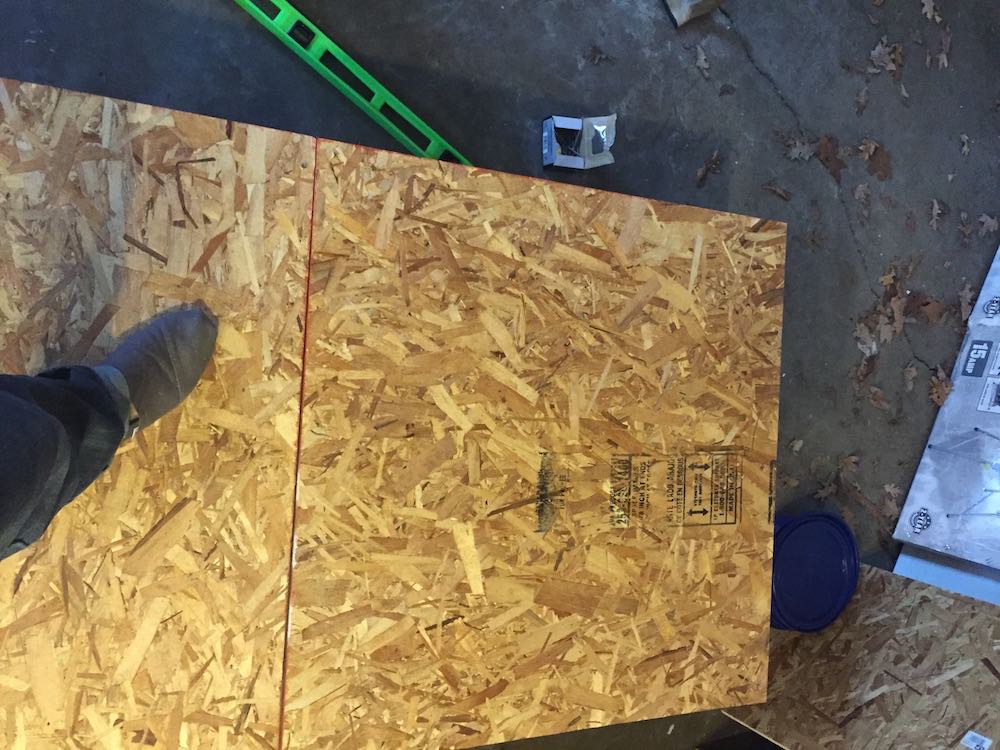
- Marking the layout. This is how they fit together the smoothest. After painting, the arrows were moved to underneath.
-
- View from the back.
-
- View from the front.
-
- Laying out the lights and realizing the adapter and cables were too long.
-
- Laying them out again with an extra board to mount to. Looks good!
-
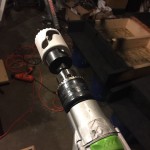
- Testing the lights!

-
- Painting the lighting area.
-
- Finished painting.
-
- Putting in the hole for the power plug.

-
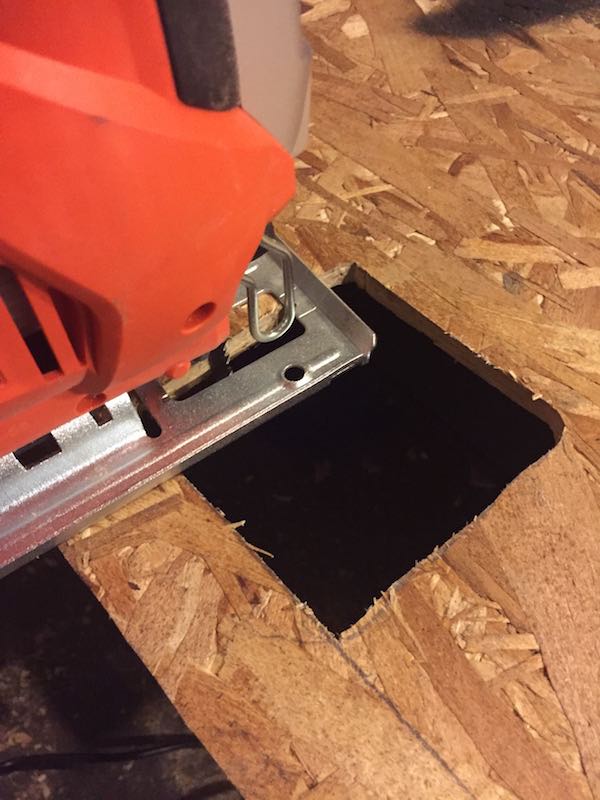
- Cutting out the space for the power box.
-
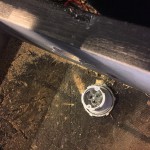
- Mounting the power plug underneath.

-
- Testing the wiring for the power strip.
-
- And the lights work!
-
- Lights mounted in and ready to go.

-
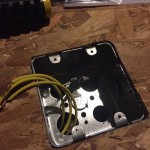
- Running wire to the outlets.
-
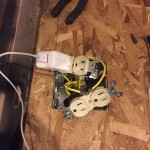
- Testing the outlets.
-
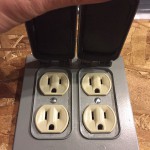
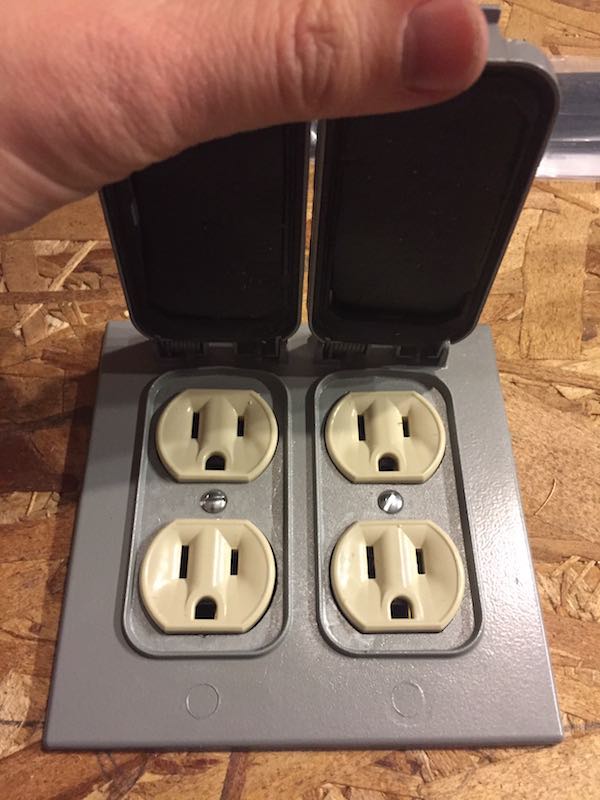
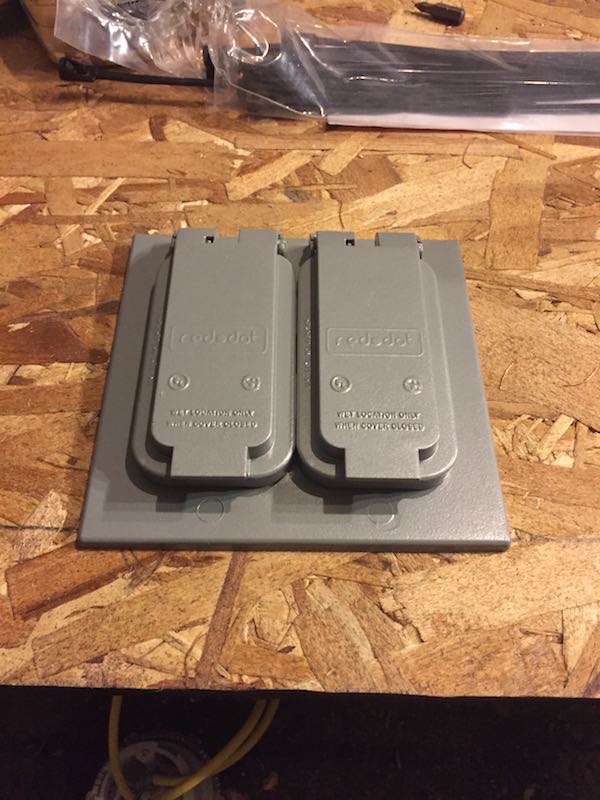
- All done! Protective cover open.
-
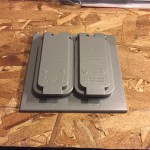
- And protective cover closed.
-

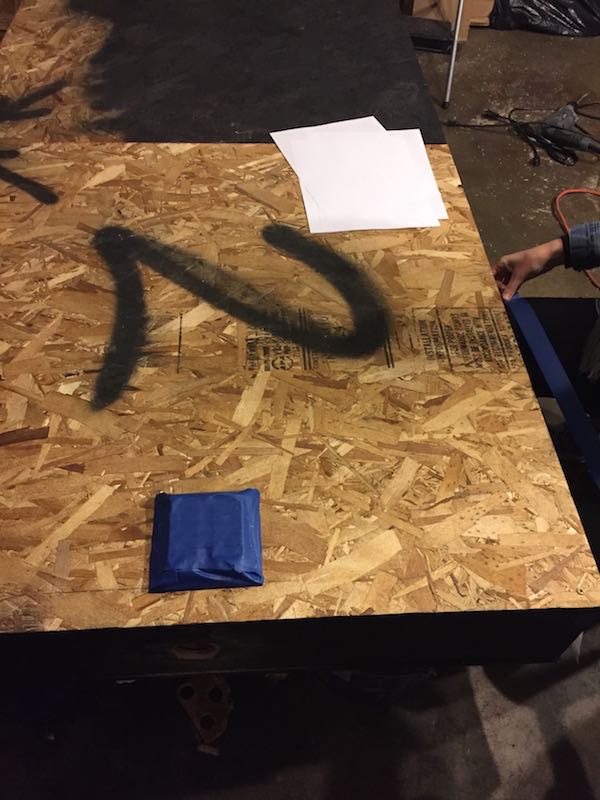
- Starting paint prep.
-
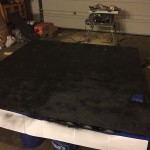
- First coat of paint.
-
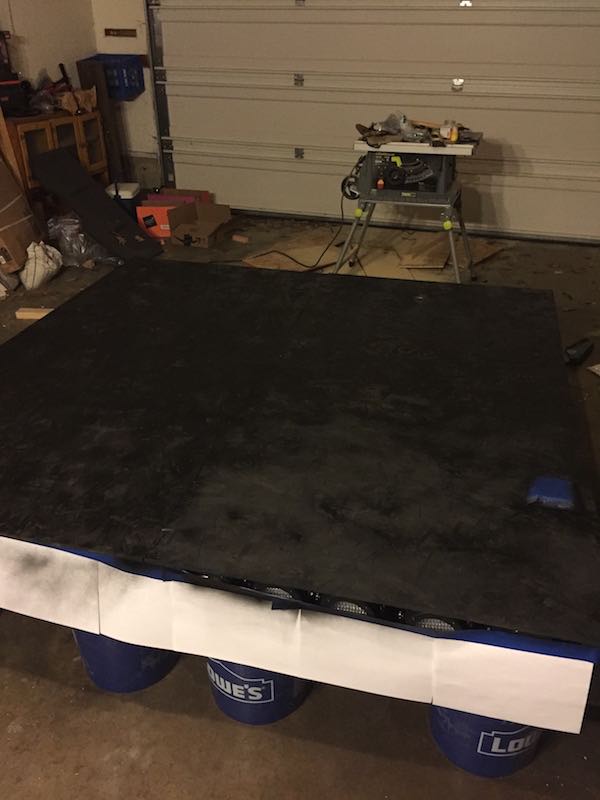
- Second coat of paint.
-
- Adding the eye bolts and straps for holding it all together.
-
- Back strap.
-
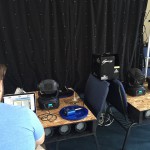
- Adding the lights into Ableton.